This week, Donald Trump pivoted from his position from banning muslims from entering the US and began to focus on revamping American trade policy. As a prelude to the future of our nightmares, Trump unveiled his seven point trade plan in front of a giant wall. 
Or was it from the inside of a trash compactor? Unclear. . .
Coming back from his recent trip to Scotland, Trump congratulated the British people for throwing themselves under a double decker bus, seriously rattling the world’s economy, and making me wonder if a second US recession would make me toss my crumpets and run for cover at mommy and daddy’s house like the first one did. Thanks Drumpf.
Looking beautifully tanned from some time on his new golf course, he unveiled his new seven-point trade plan. The plan, which, alarmingly, had similar populist appeal to me as Bernie Sanders’ calls for free education, argued for a withdraw of the US from the Transpacific Partnership, the identification of violators of foreign country trade agreements, the renegotiation of NAFTA with Mexicans (from the other side of the wall, duh), to prosecute and slam China for a little bit of this and a little bit of that. 
Sorry Repubbles, he got me with the no Chinese food.
Happily, Democratic support seems to be coalescing around crooked Hillary, and with the pending announcement of Elizabeth Warren as Clinton’s Vice Presidential running mate, I’m so happy, I’m spewing rainbows!
This might not be entirely appropriate on a food blog, but…I can’t get enough of these SnapChat filters 🙂
In honor of a Warren-Clinton ticket, Trump as America’s trashman, my Mother’s birthday, and Gay Pride (post Orlando), I am celebrating by making an awesome tie-dye rainbow vanilla butter-cream cake with yellow cake and a berger cookie center [mouth drop]. Stick with me, this is a long one…
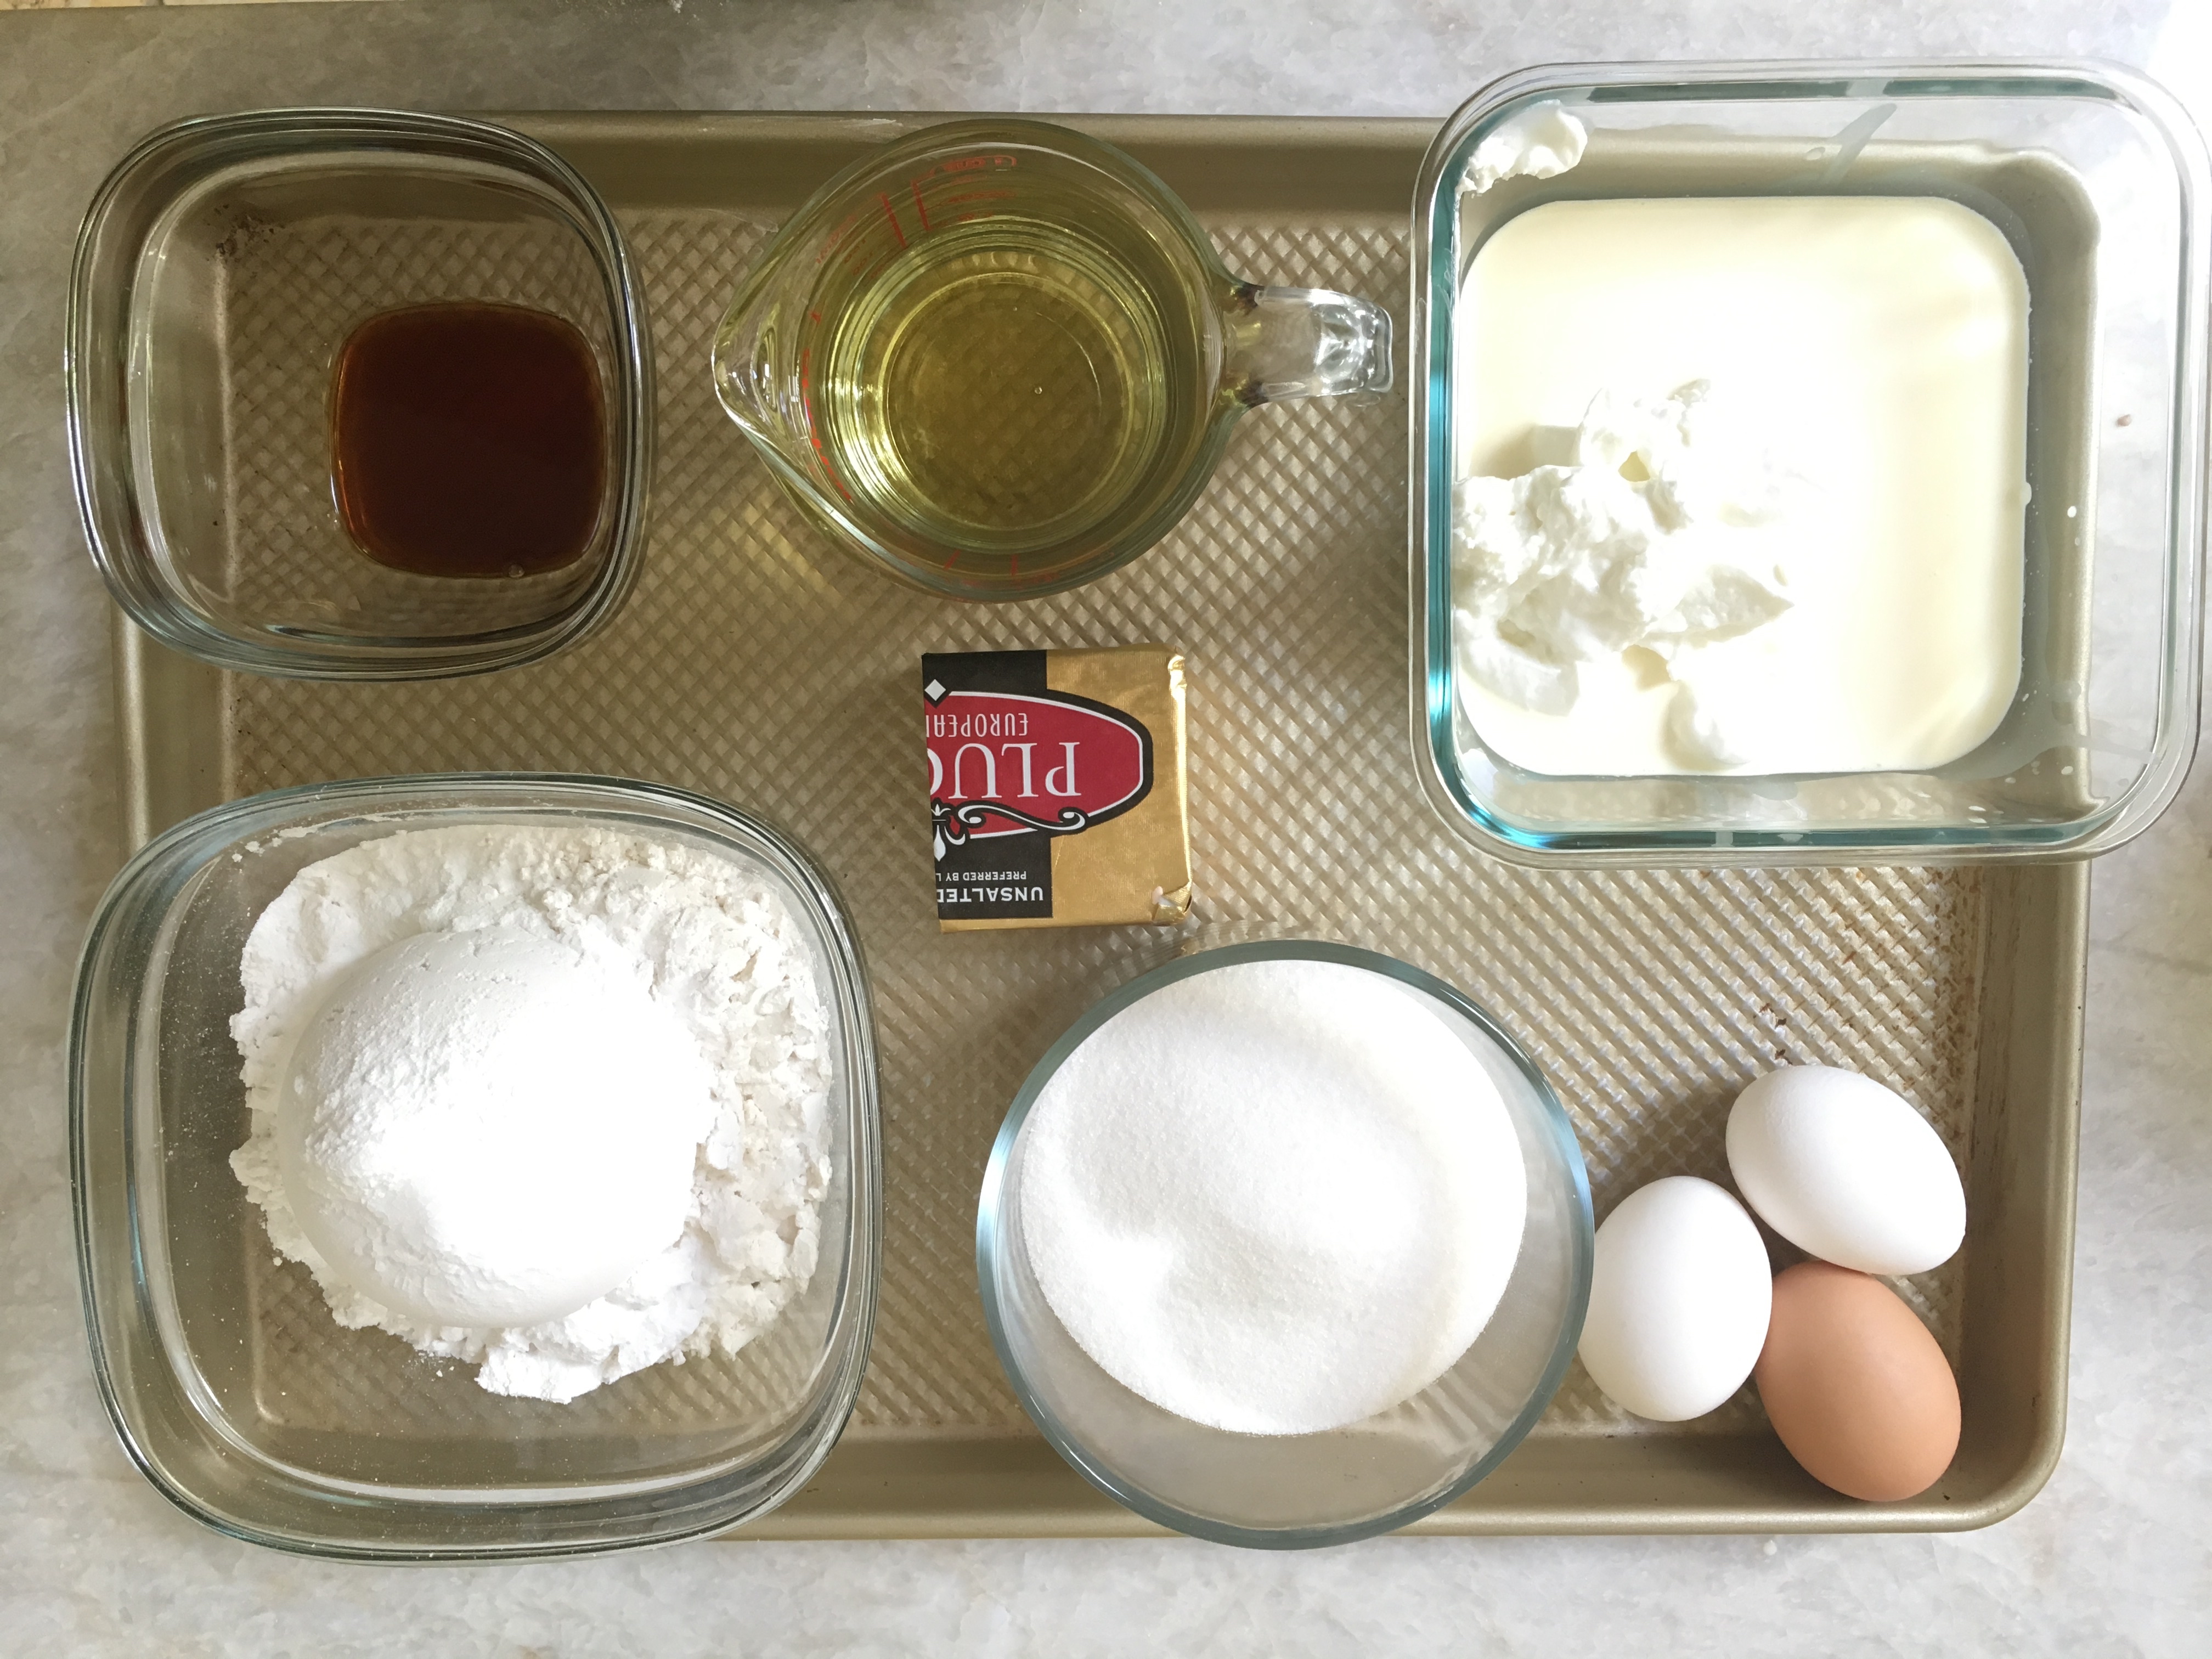
To make this neon Tie Dye Birthday Cake, first gather your ingredients. For the yellow cake (2 layers) you’ll need: 3 large eggs (room temperature); 2 cups of granulated sugar; 1 cup of vegetable oil; 1/2 cup of heavy whipping cream; 1/2 cup of greek yogurt; 2 1/2 cups cake flour; 1 tsp baking powder; 1/2 teaspoon baking soda; 1/2 teaspoon kosher salt. For the cookie center, you’ll need: 6 berger cookies pulverized (about 3 cups); 1 stick of of unsalted butter (room temperature); 1 3/4 cup of flour (I used cake flour). For the vanilla butter cream icing, you’ll need: 2 sticks of unsalted butter; 6 cups of confectioner’s sugar; 1 tbsp vanilla extract; 1/4 cup of heavy whipping cream.
To ice this cake for super smooth edges, I highly recommend investing in a turn-style cake stand and a 10” spackling knife with a flat edge (or partially flat edge) .

First cream the butter and sugar in a stand mixer on medium speed for approximately 2-3 minutes until light and fluffy. Add the vanilla and eggs and mix again until incorporated. Add the cream and yogurt and incorporate. In a slow, light, constant stream drip in the vegetable oil. The mixture will be very liquidy. Slowly (1/3 cup at a time) add the dry ingredients until fully incorporated. 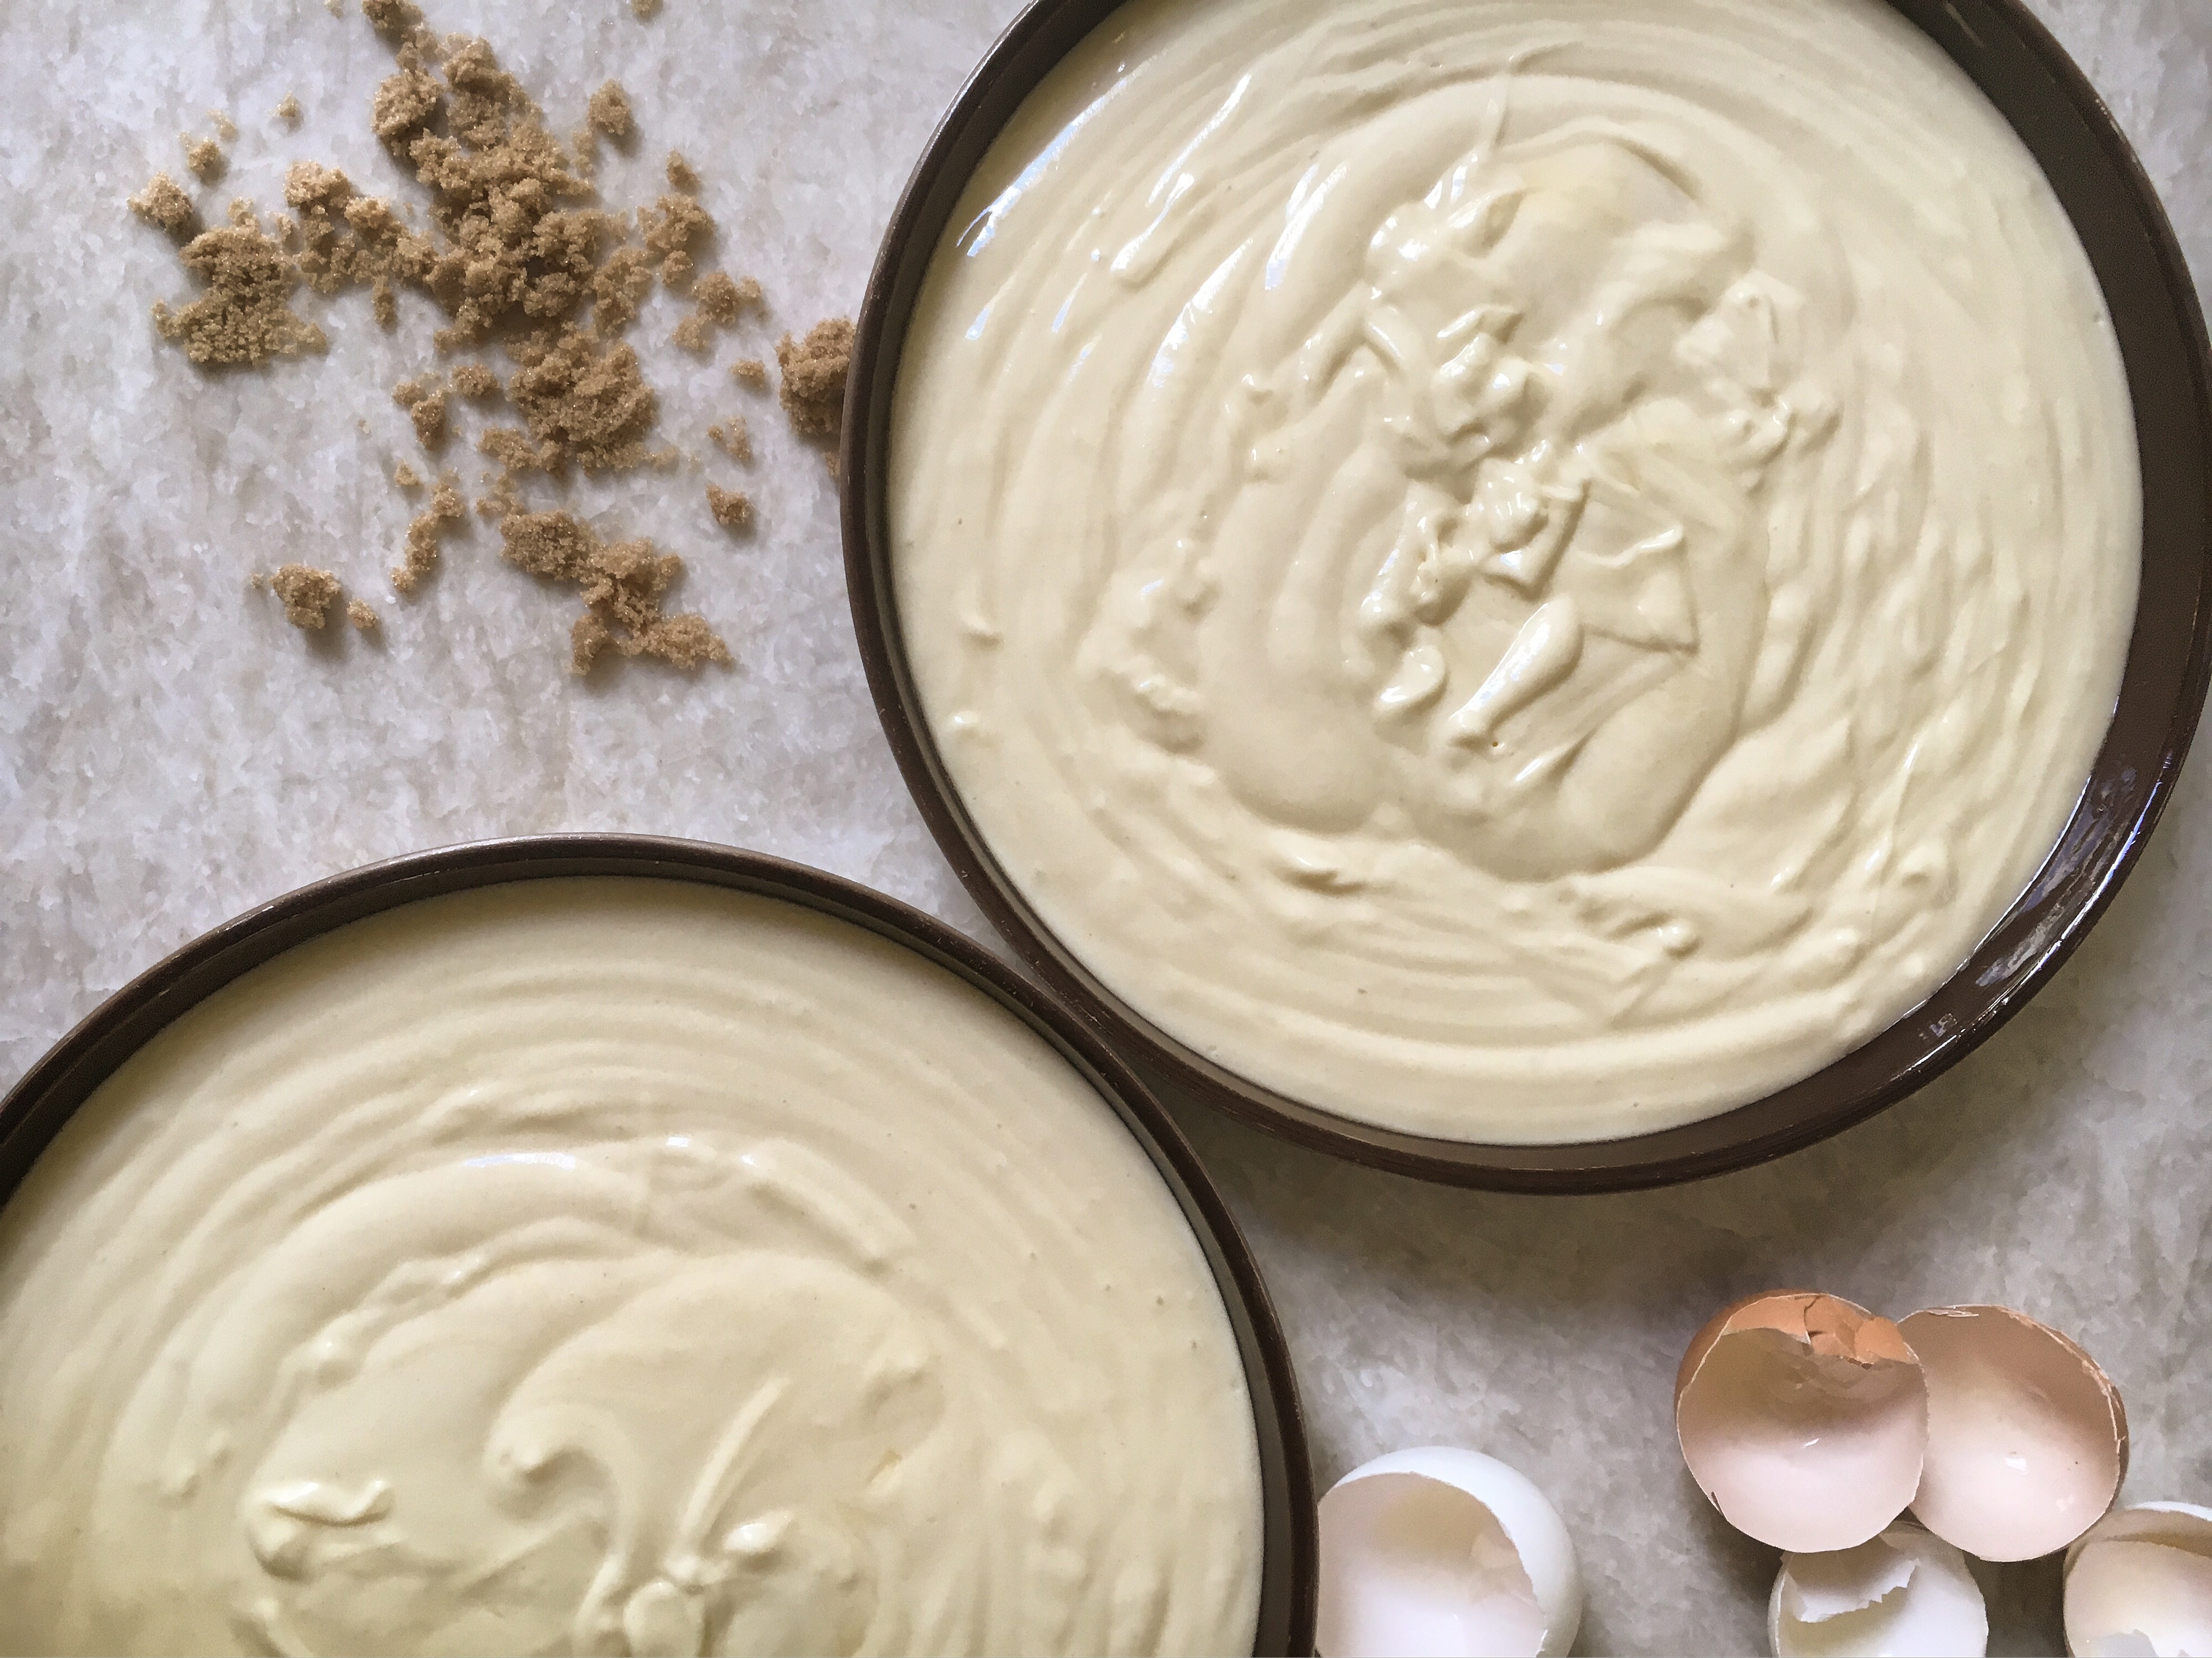
Meanwhile, preheat the oven to 350 F and grease inside of two cake pans (ideally ones with straight edges) with butter or canola oil spray. Ideally, line the bottom of the cake pan with parchment paper (I always skip this step, which can make removing the cake a real you know what…gasp!). Place the cakes in the oven for 35 minutes. 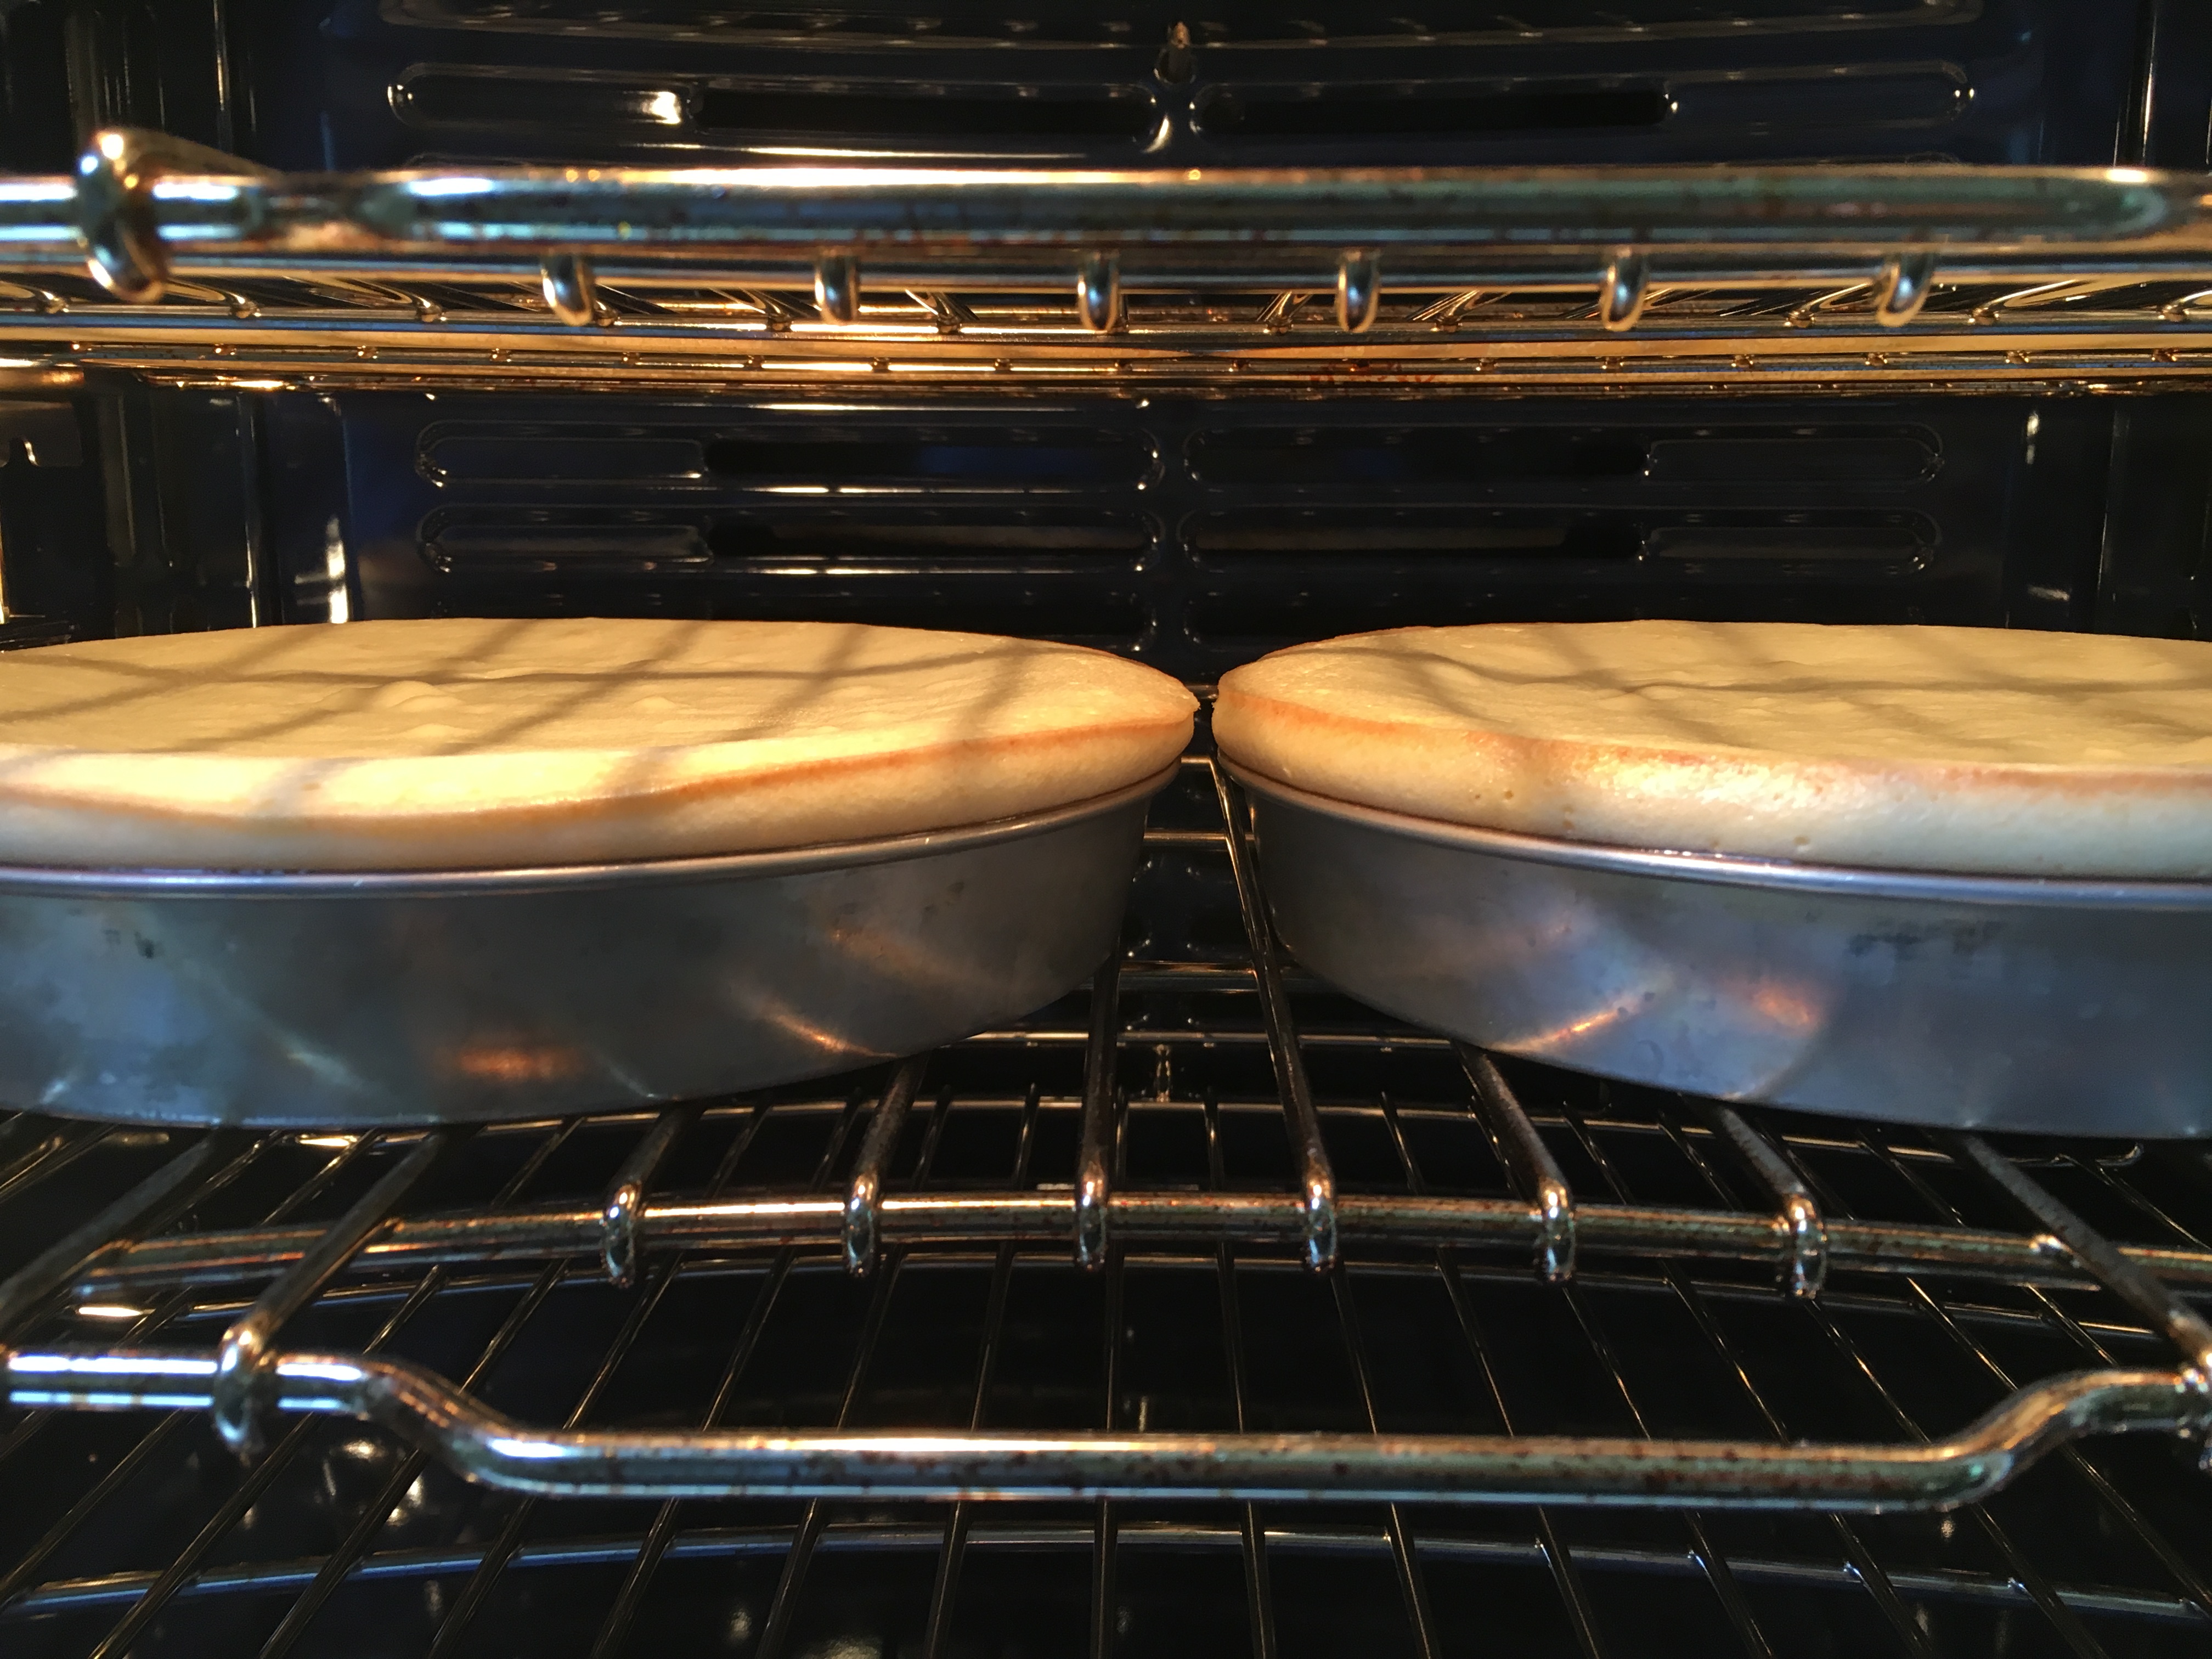
If you can, try and space the cake pans further apart-about 1 inch at the rim.
Remove the cakes from the oven and allow to cool completely before removing from the cake tins. Once cool, place the cakes into the freezer for a few hours while you prepare the icing. This will help the cake firm up so that they don’t tear when you begin to ice them. 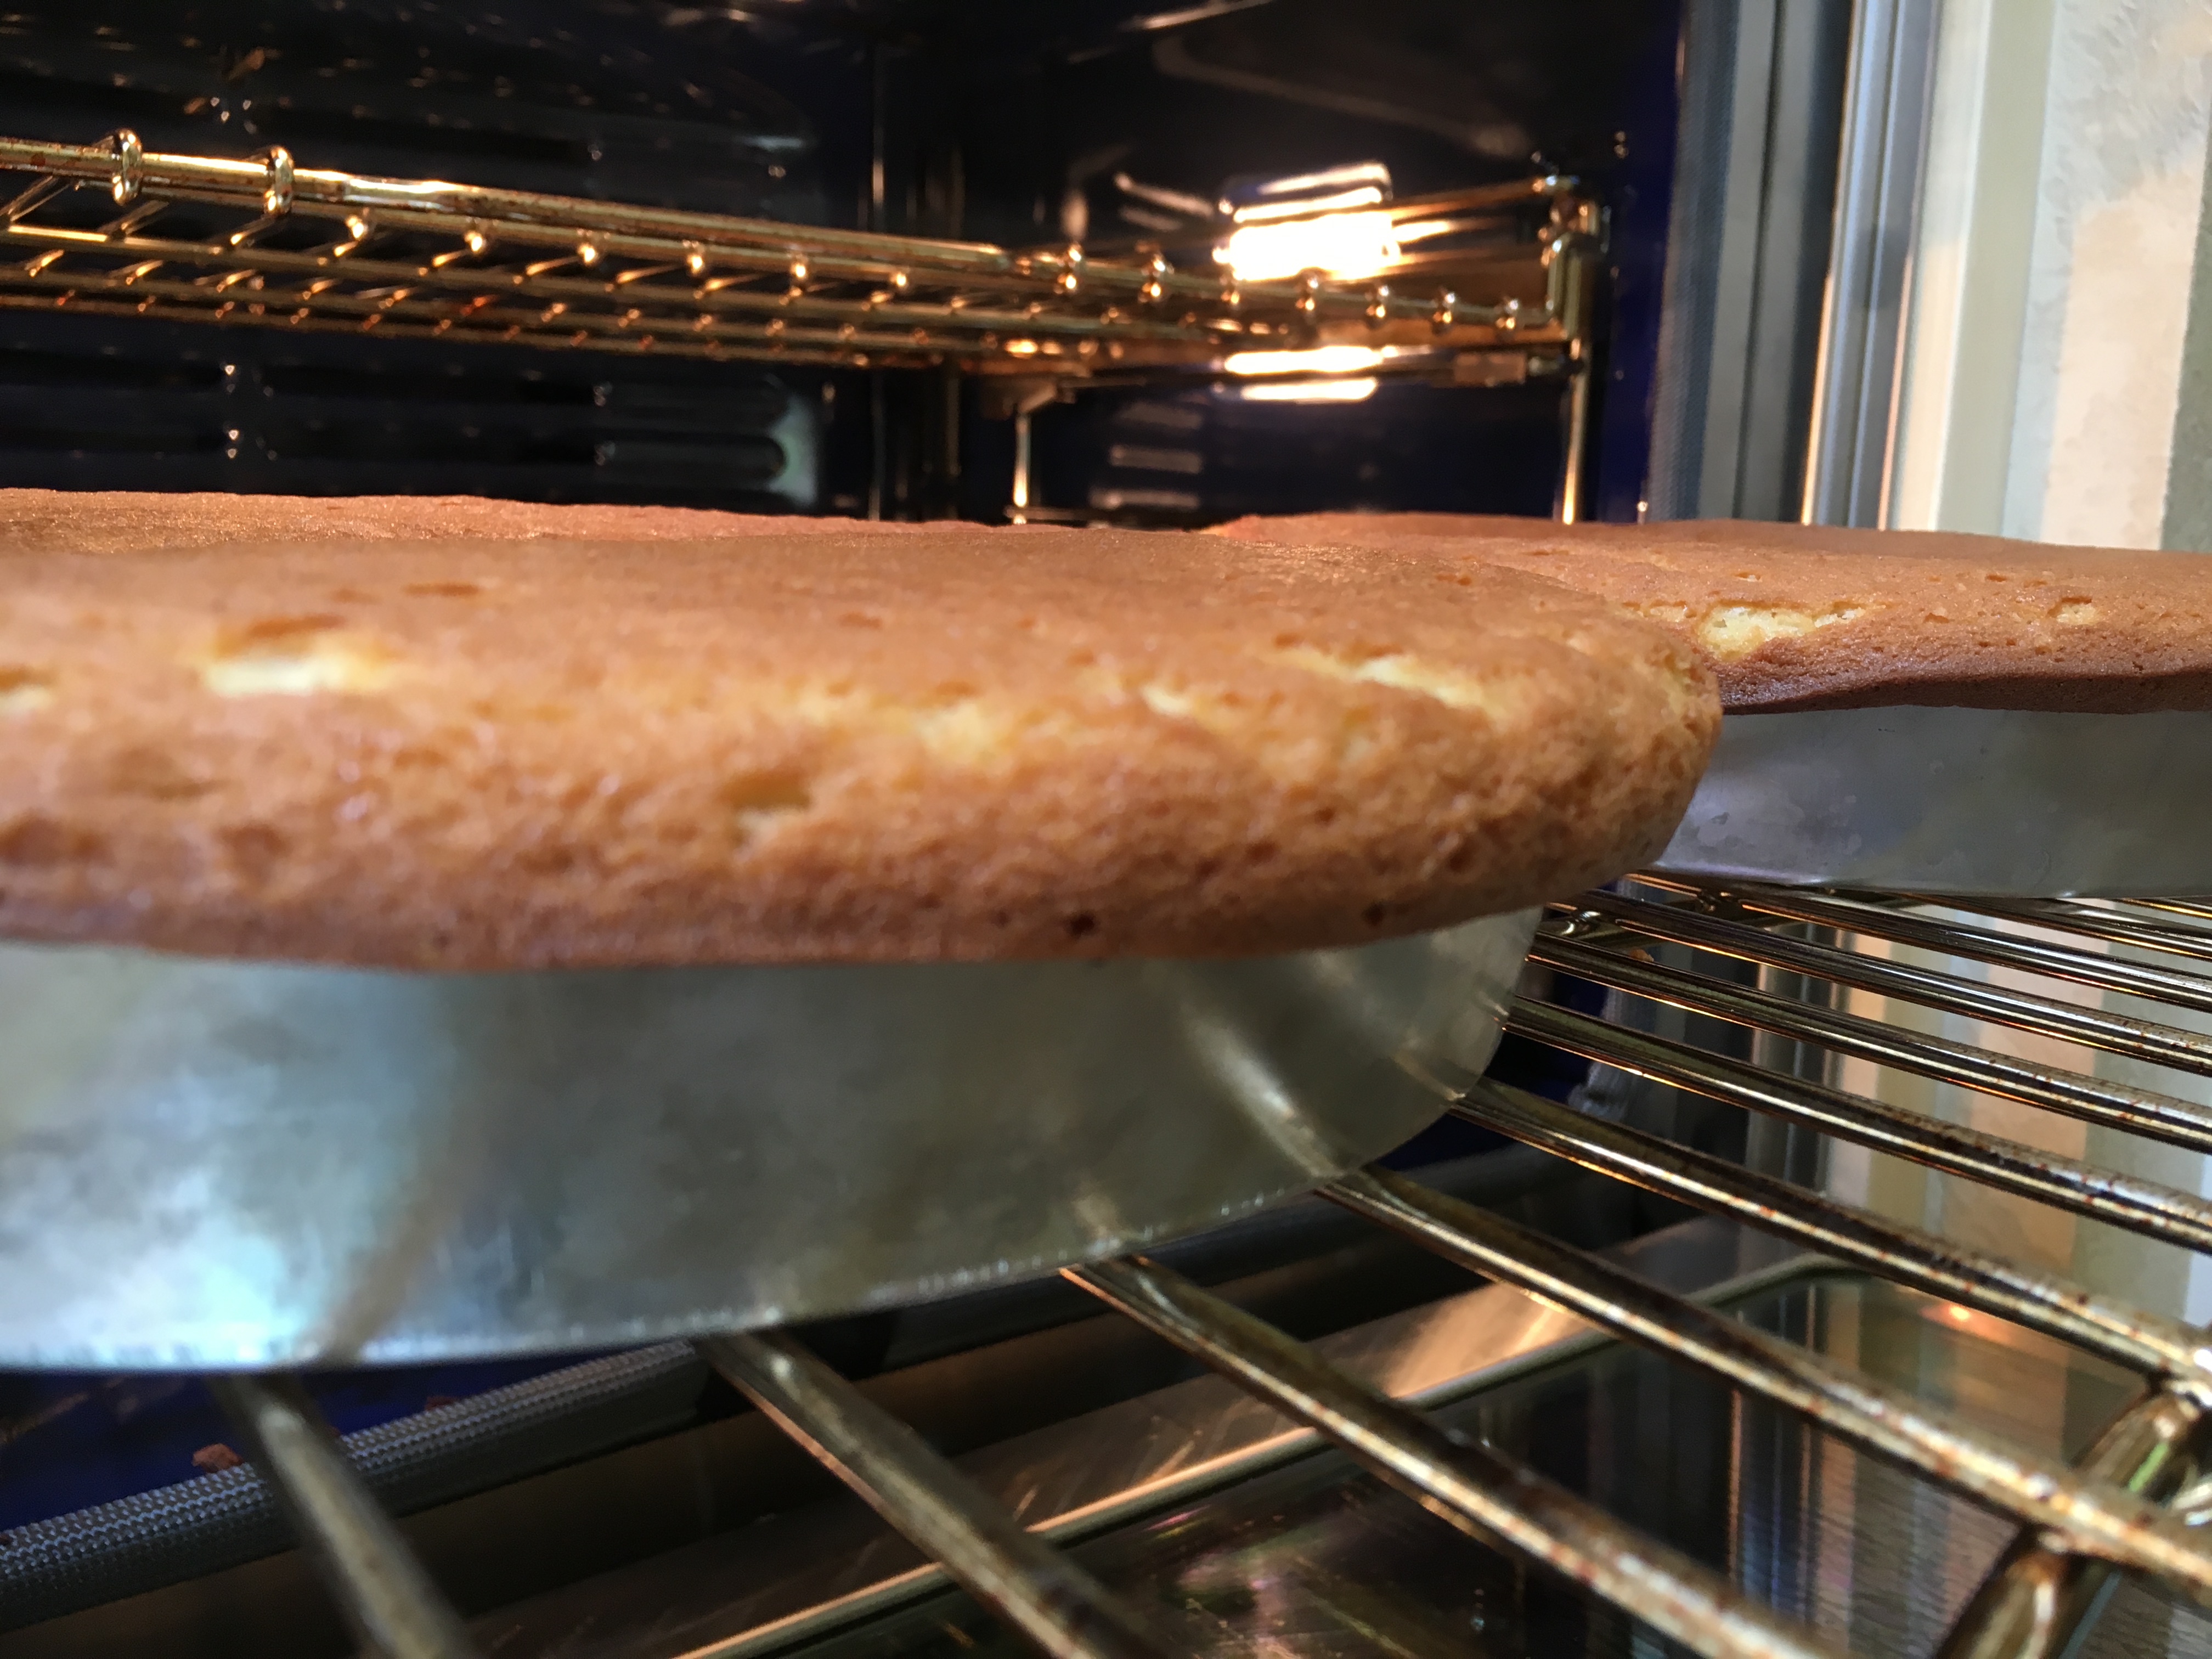
These cake pans were too short. I suggest pans that are at least 2 to 2.5 inches tall with straight edges.
To make the cookie center, you can pulverize your favorite cookies, combine it with 1 stick of melted unsalted butter in a food processor. 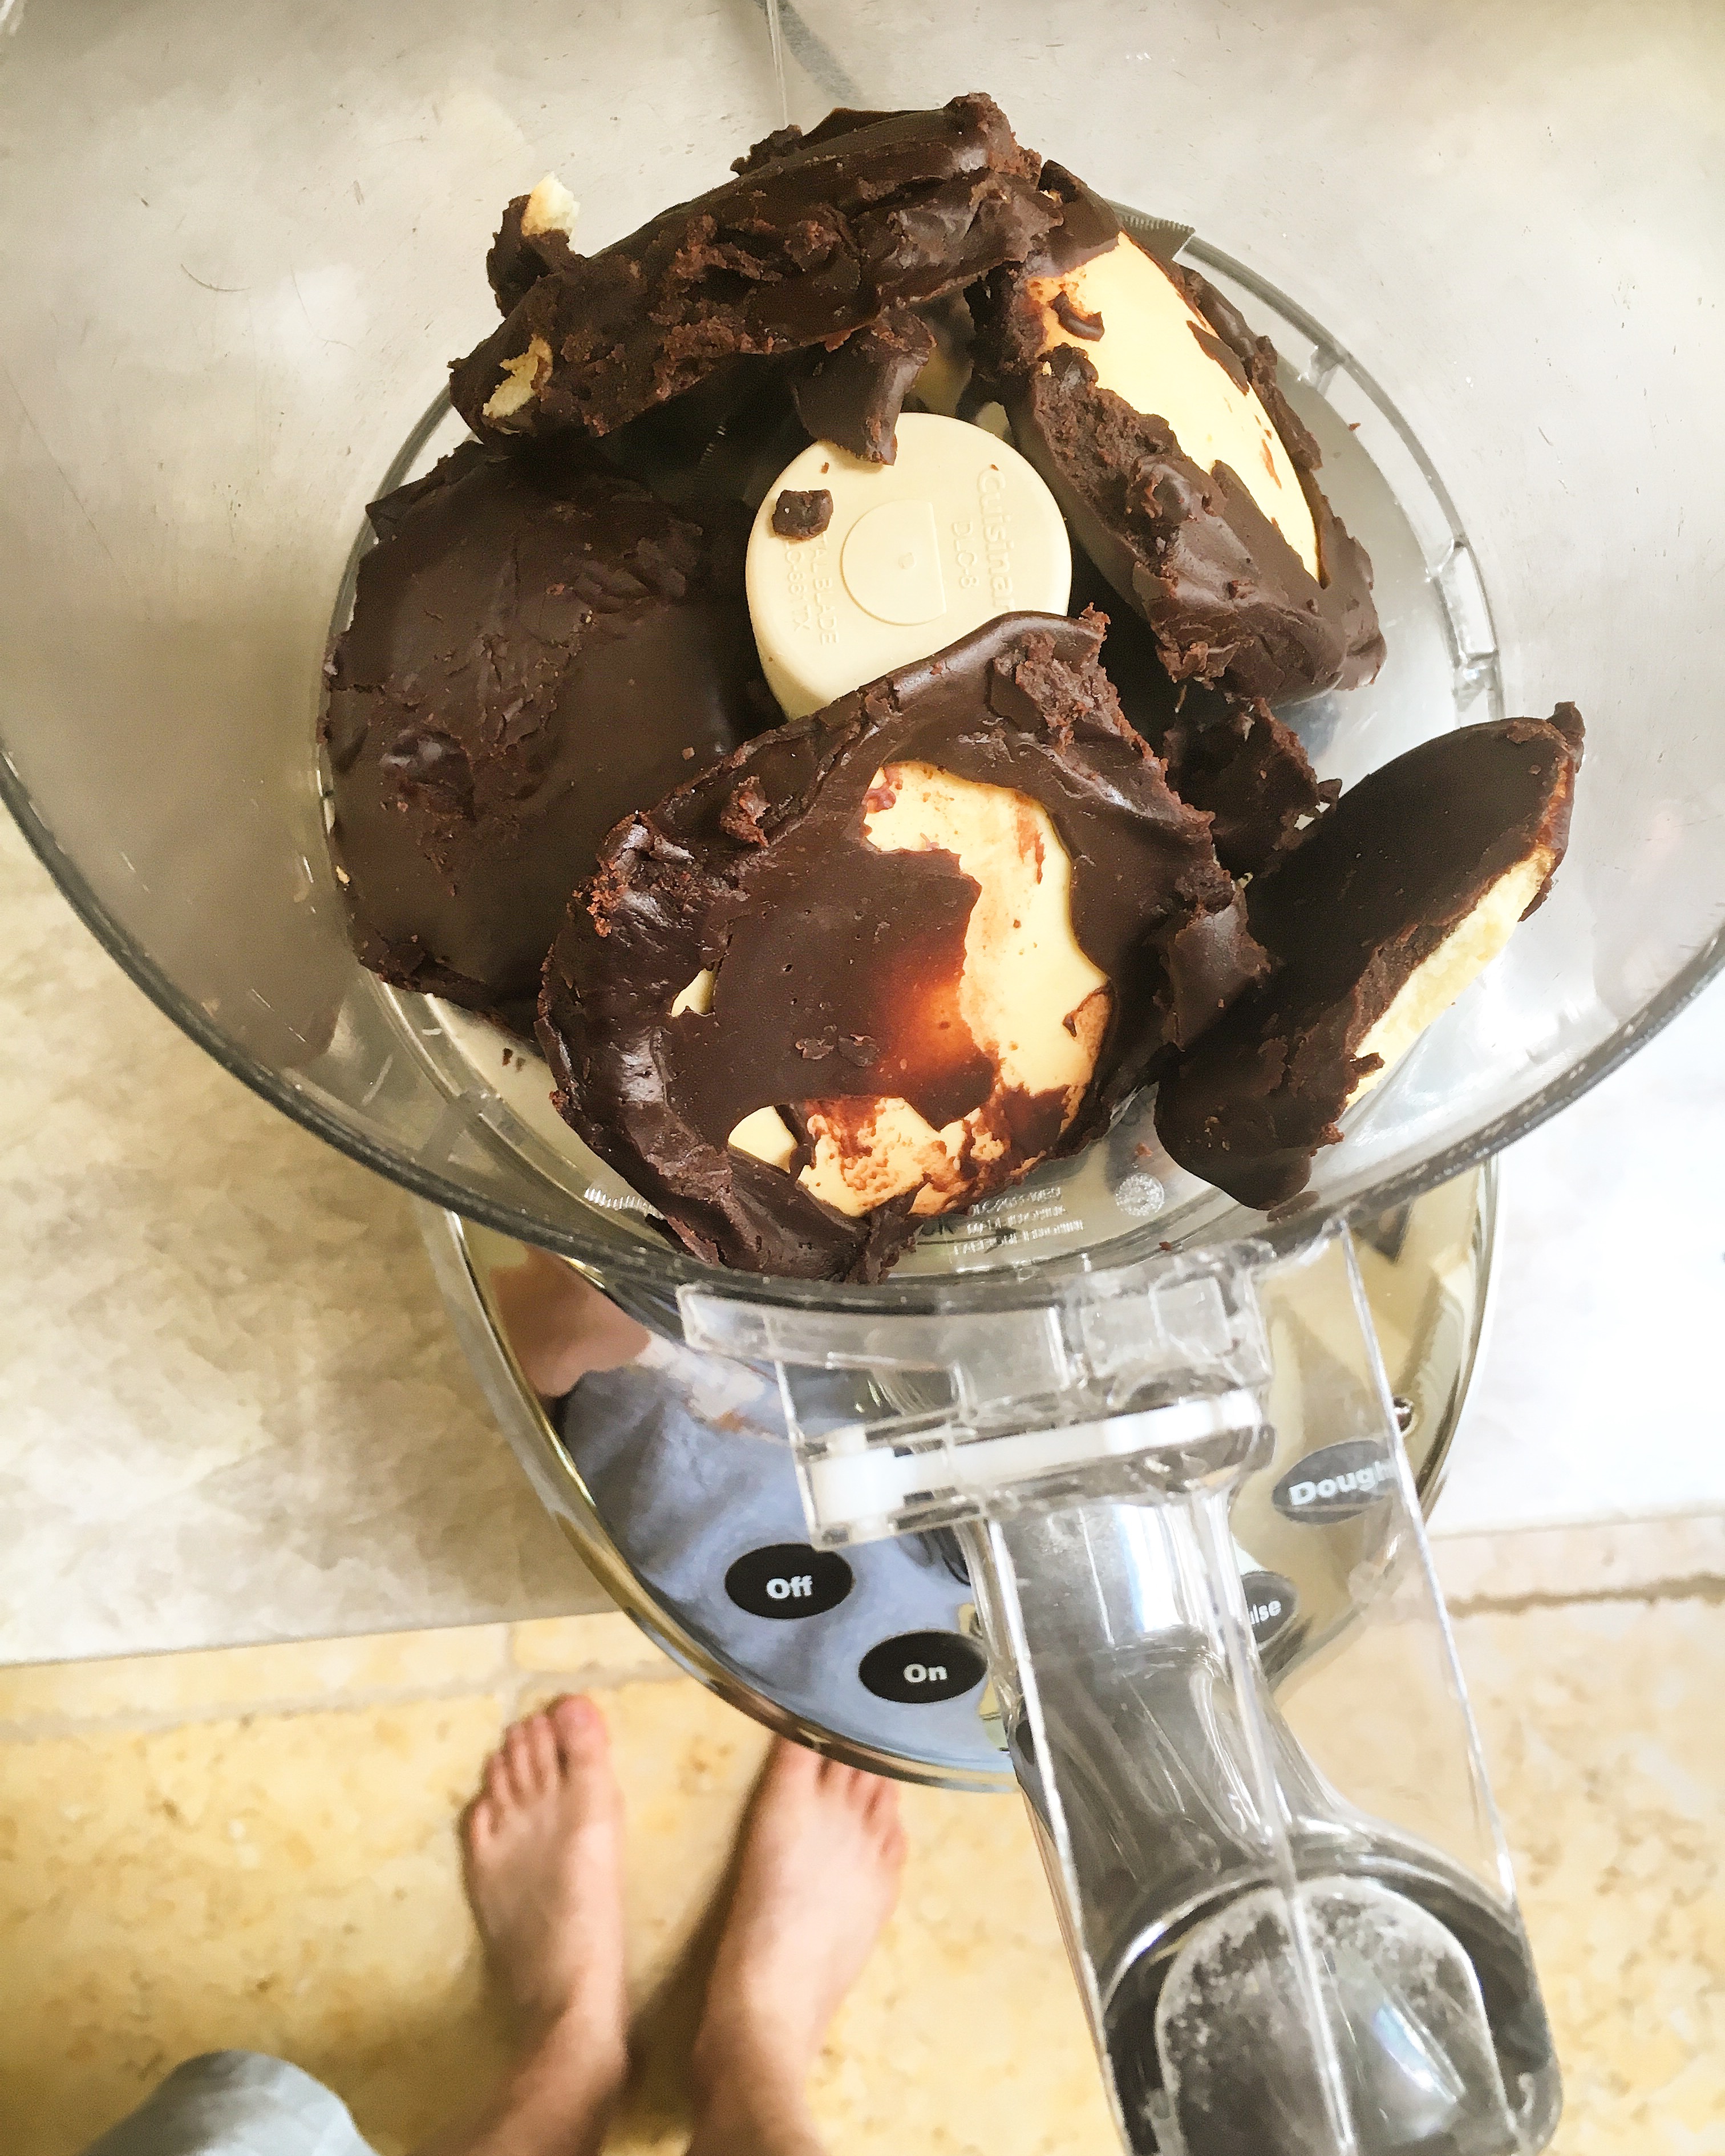
Transfer it to a stand mixer and add in about 1 3/4 cup of flour until it firms up again and you can reshape the cookie mixture into a ball, like fudge!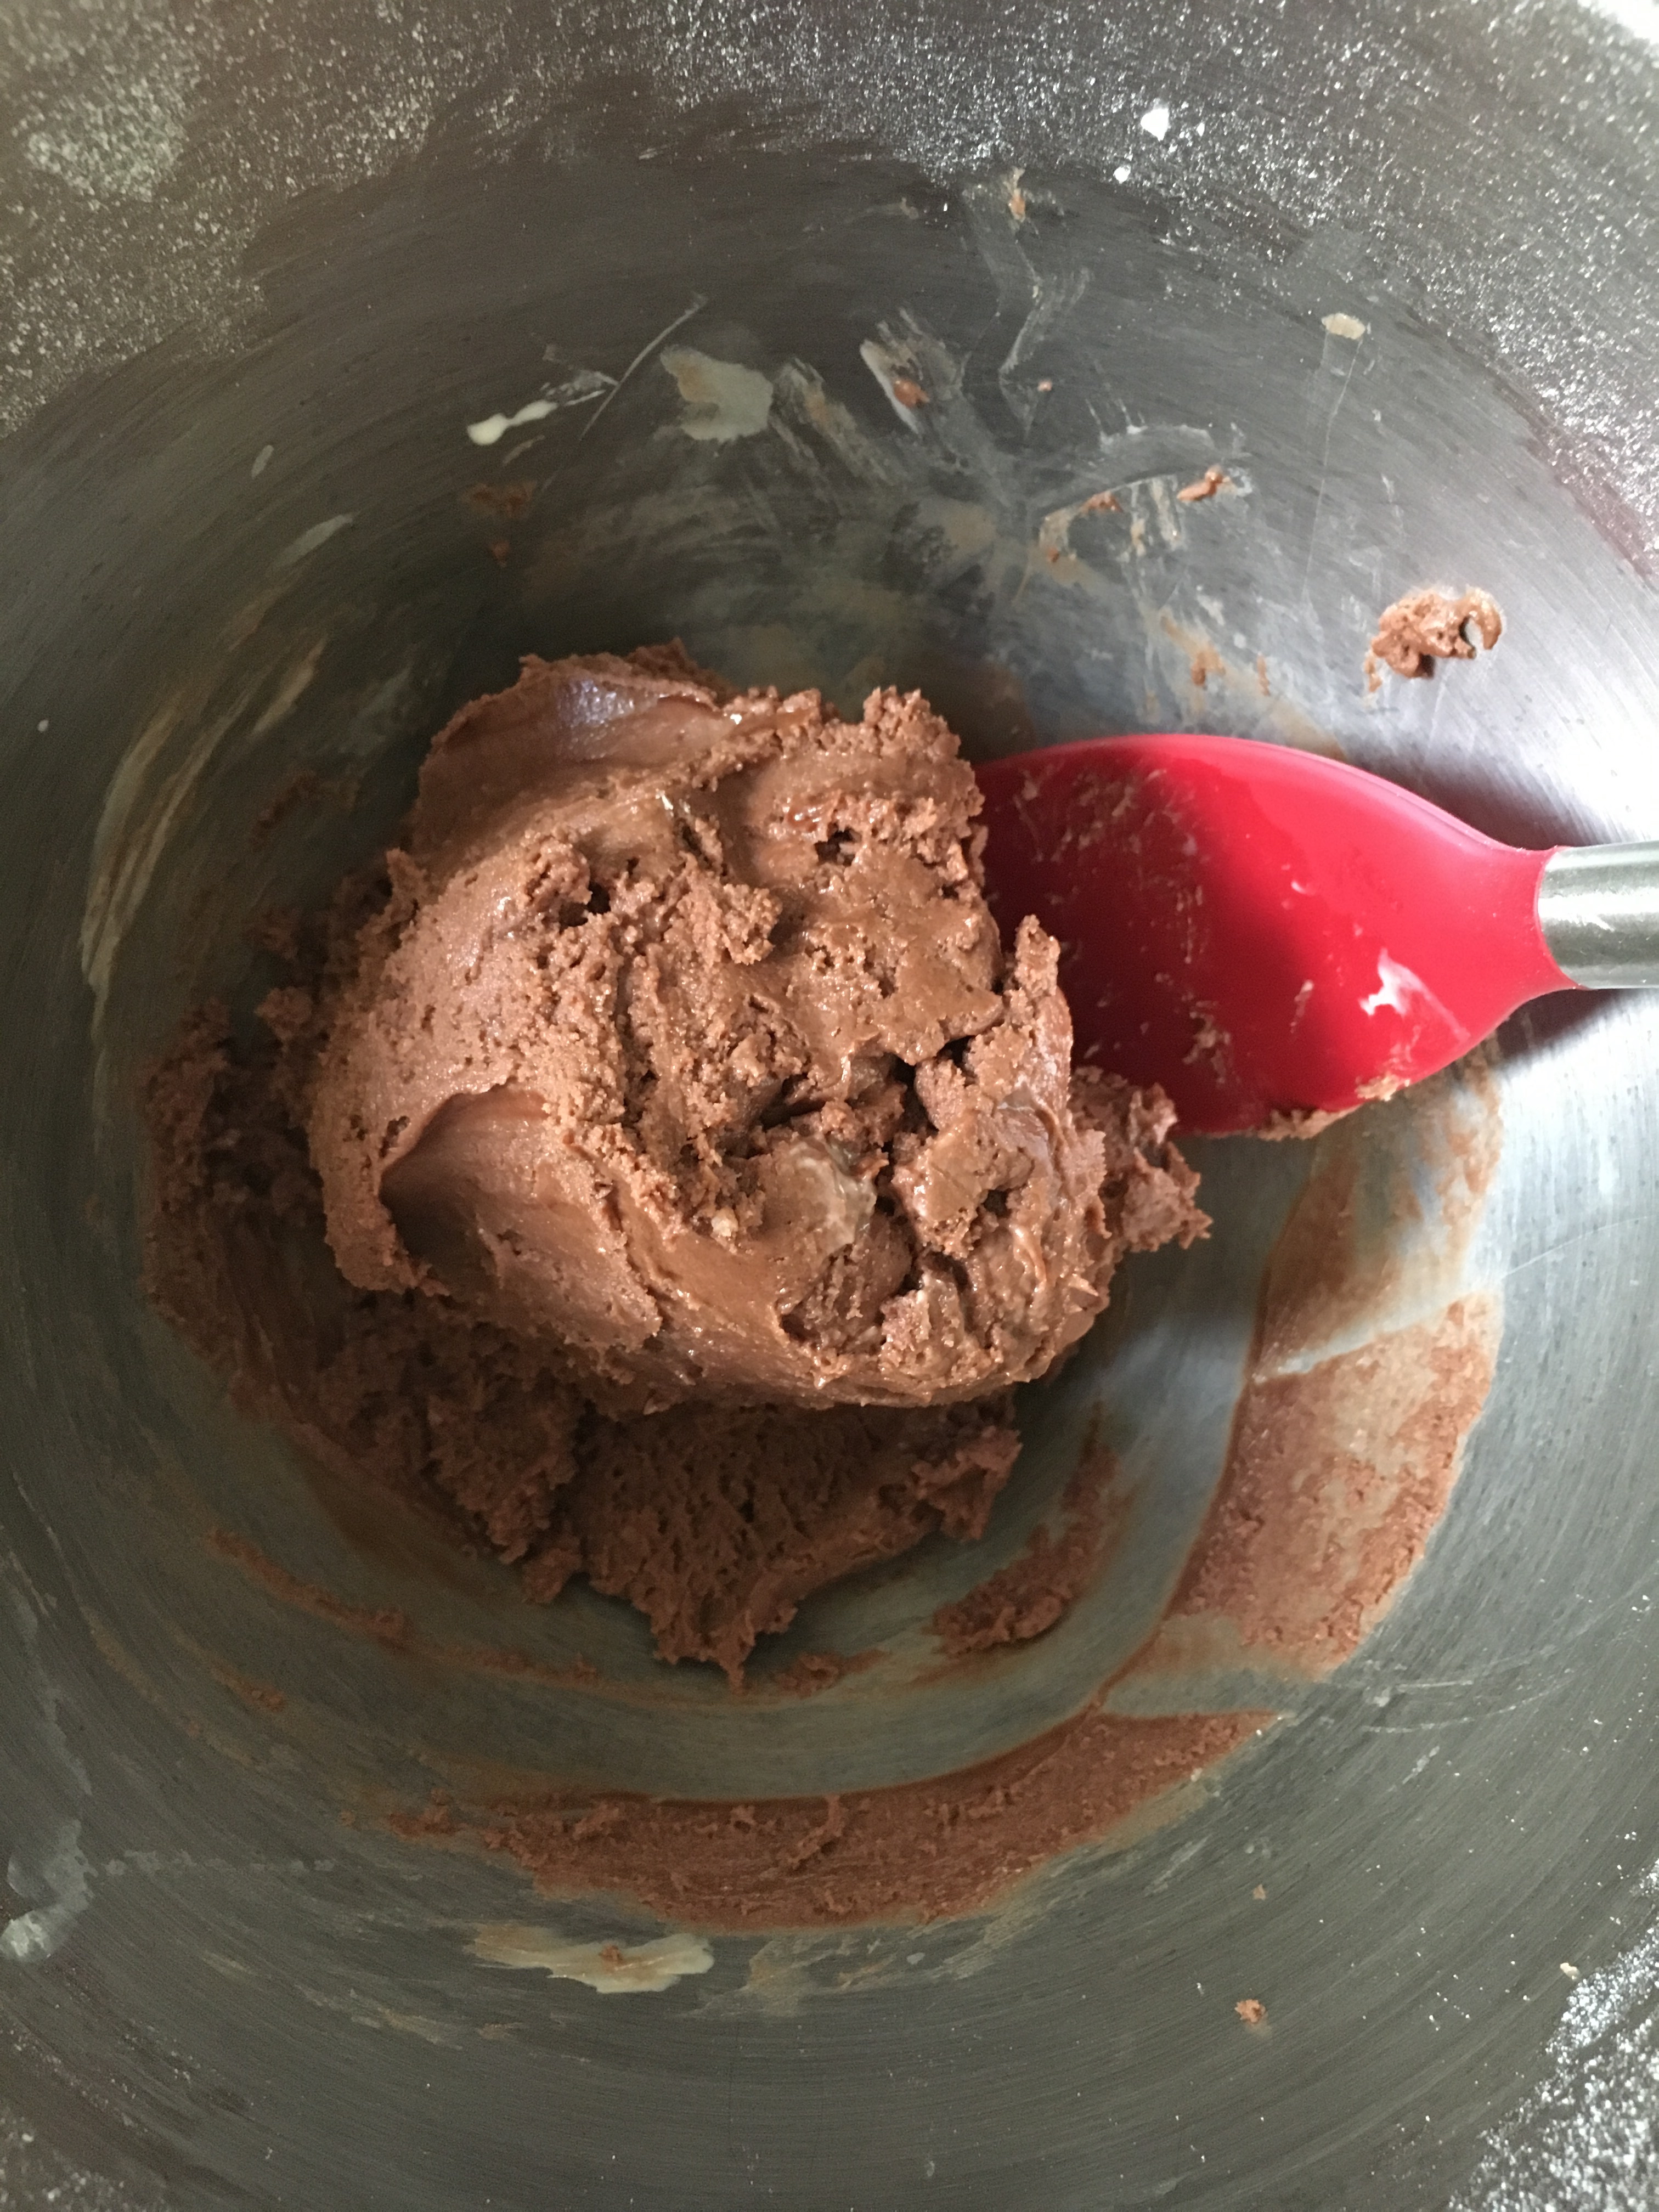
If you’re familiar with Berger cookies and happen to be passing through maryland, I highly recommend you pick up a box and try it with Berger cookies. The company has recently updated it’s website and now you can order Berger cookies right to your door from anywhere in the US! 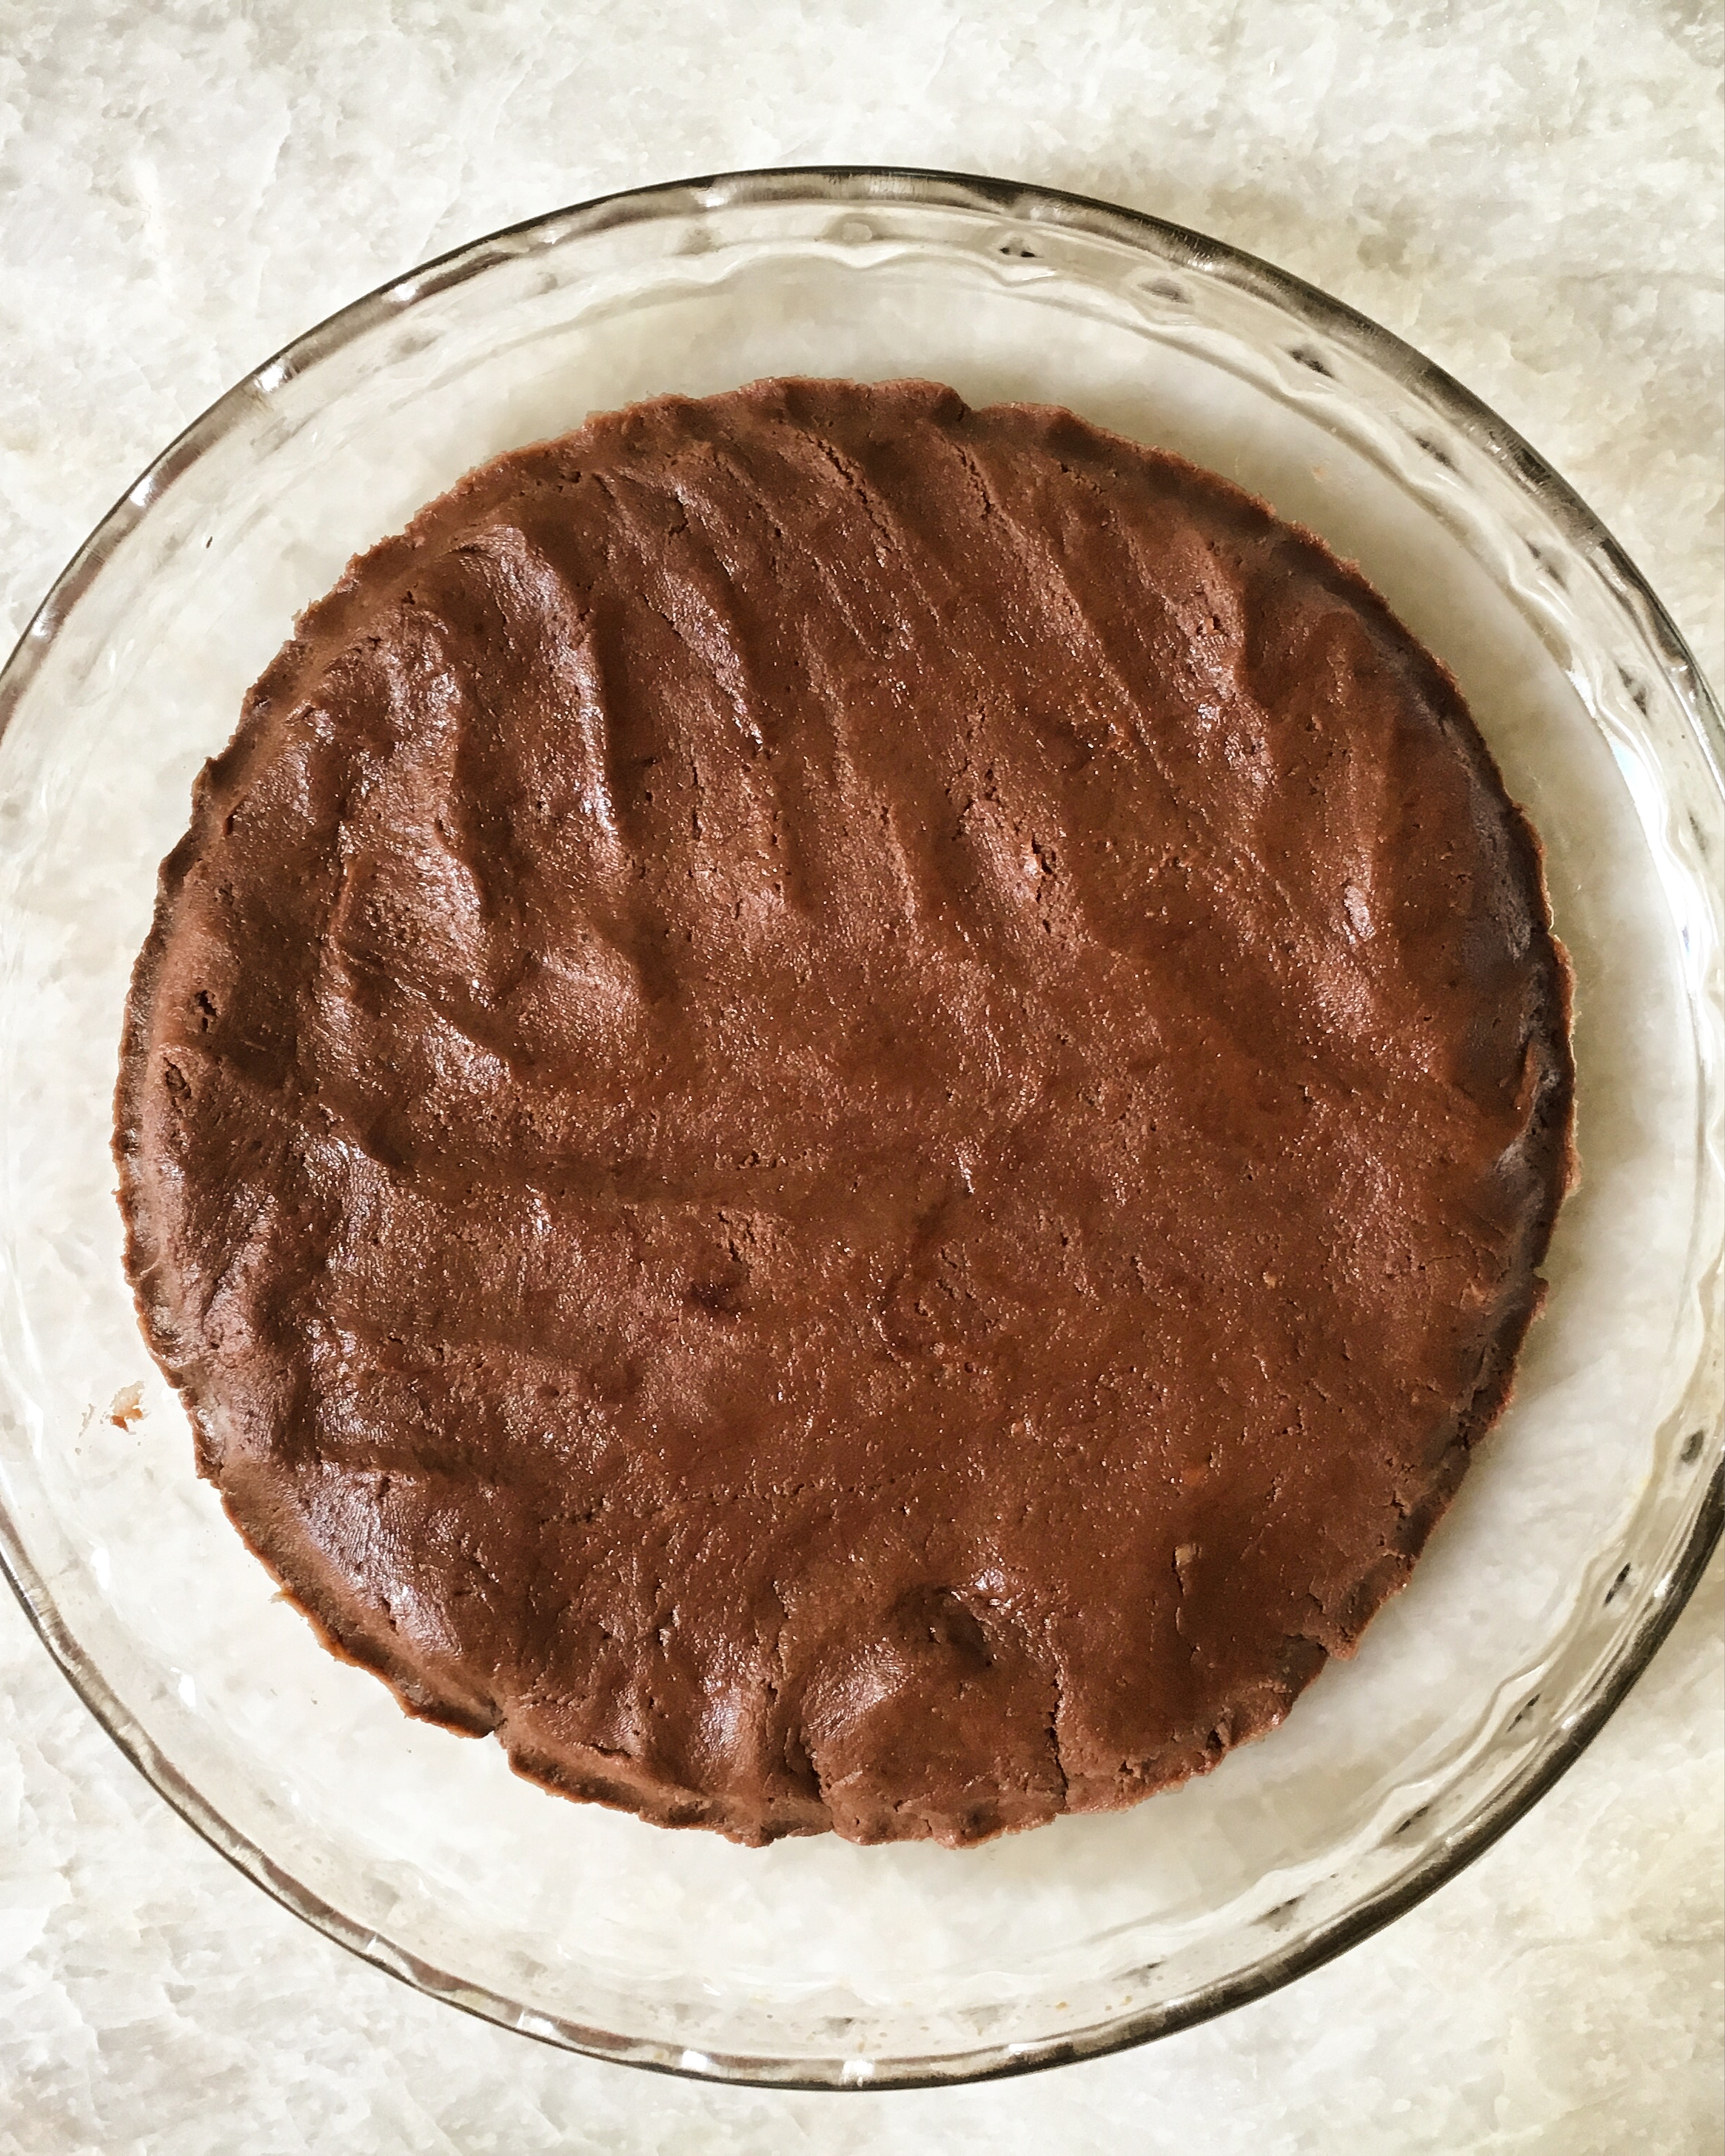
Anyhow…once the fudge has been formed, place it inside another cake pan or 9″ pie pan to form a thin disk of Berger Cookie fudge that you will eventually place in between layers of yellow cake. Place the disk into the fridge while you prepare the icing, so that it has time to firm up a bit.
To make the icing, first cream the butter (whip it on medium for 2 minutes or so until its nice and soft and fluffy). Add the vanilla and then add the confectioner’s sugar 1/2 cup at a time until fully incorporated, then add the cream. If the mixture appears too thick, you can add a bit more cream to loosen it up. 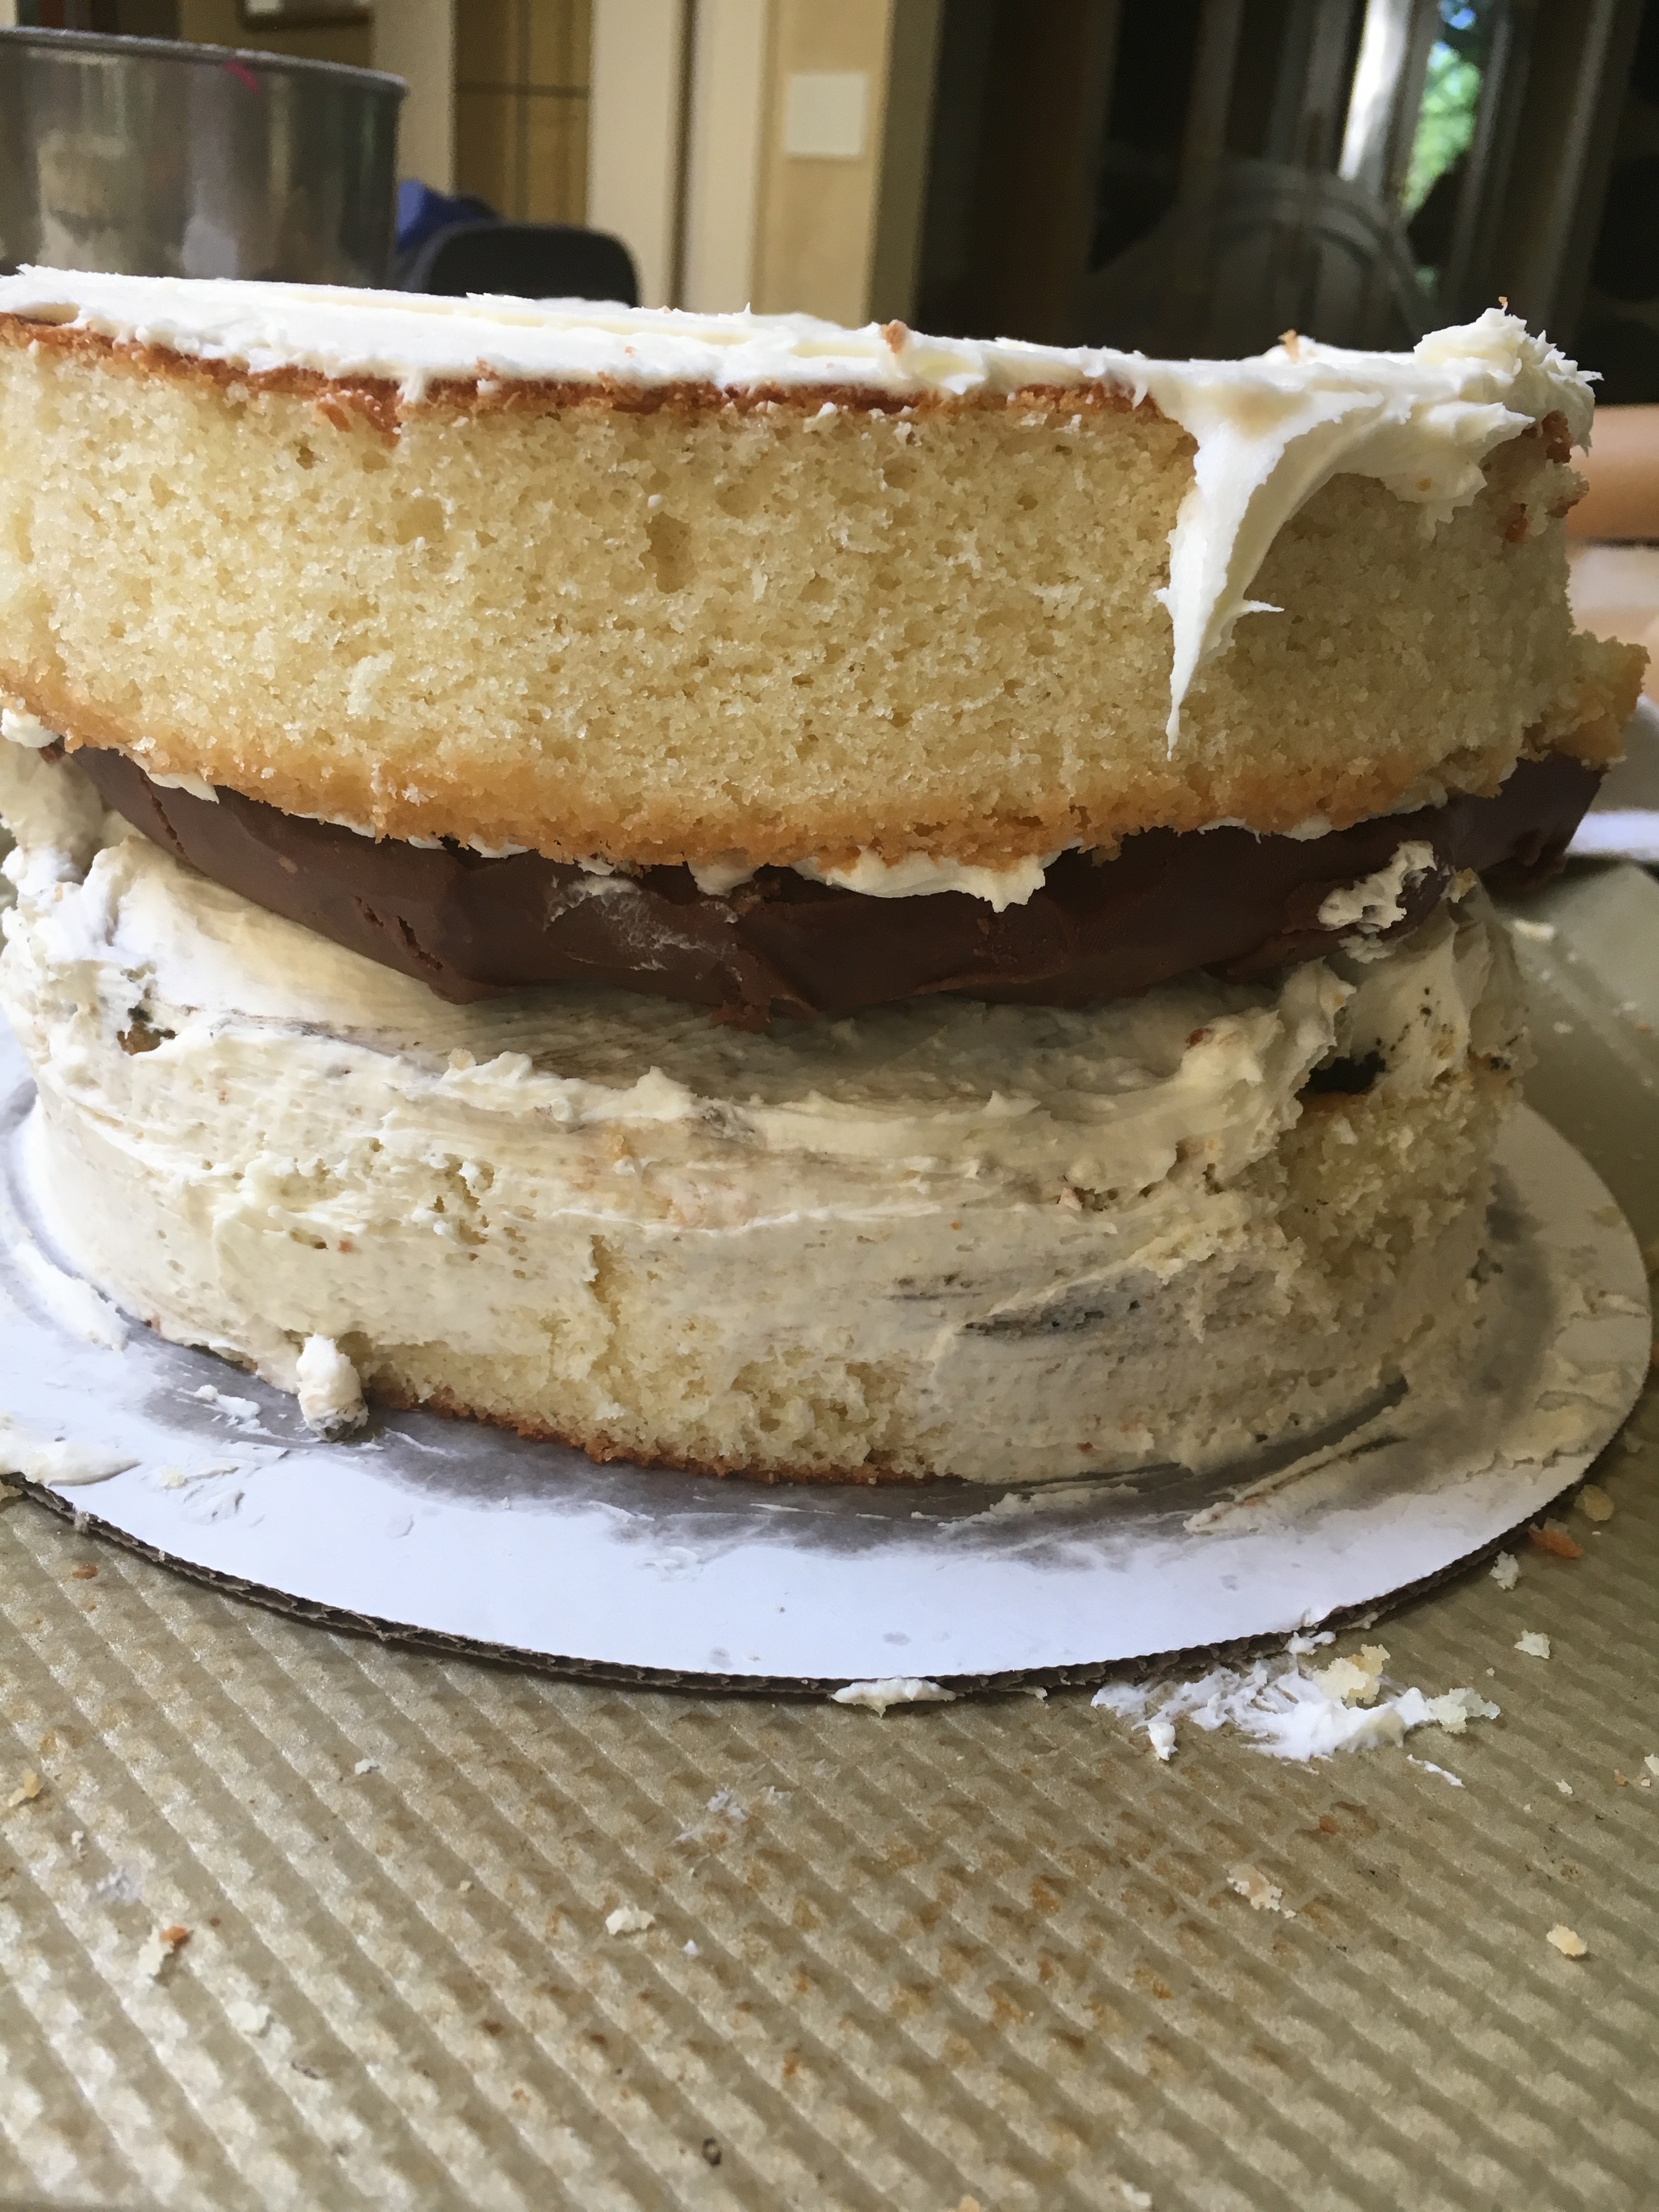
if your cake pans do not have straight edges, you make need to cut the sides off of your cakes so that the edges are perfectly perpendicular to your counter. This will help ensure straight sides to your cake and a more even icing job.
To Assemble the cake, flip the yellow cake over so that the bottom of the cake becomes the top. Coat the top with a layer of icing. Place the berger cookie layer on top and coat the fudge layer with icing again, layering the second yellow cake on the top, making sure that the flattest side is on top.
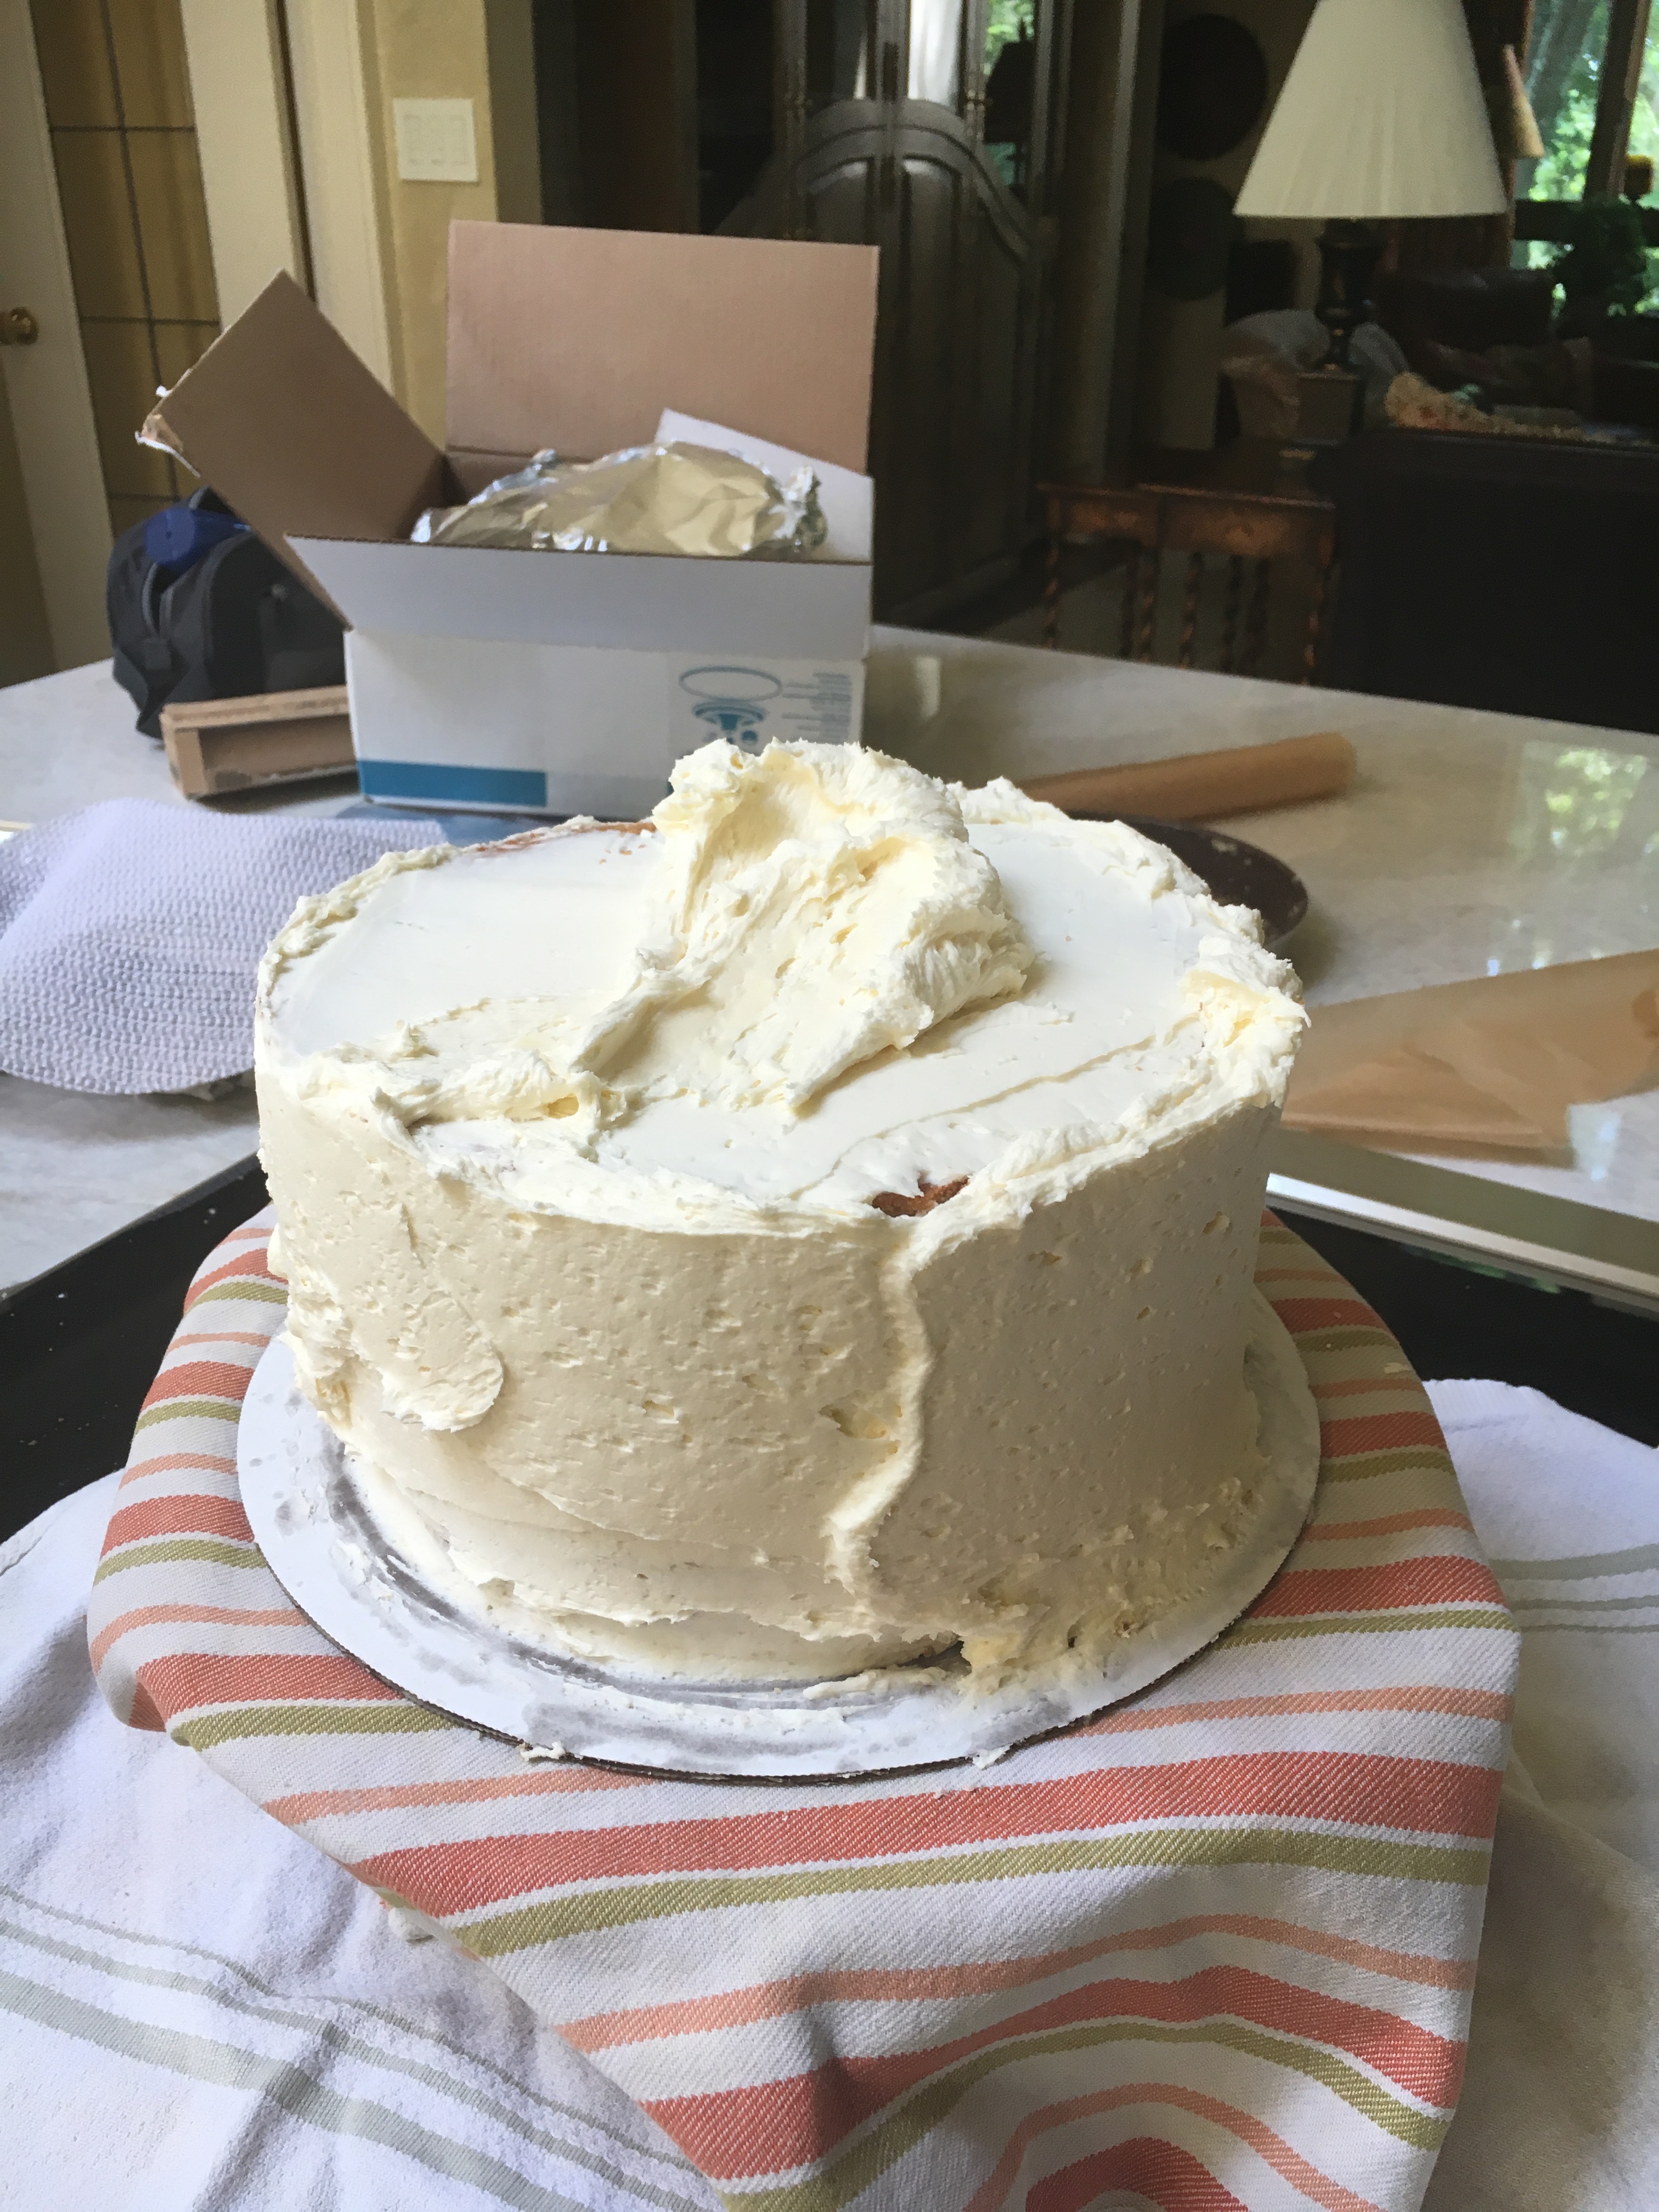 I highly recommend a turn-table cake stand and a large 10” spackling knife. The combo will make it much easier to ice a cake like this. You can do a fine job with a regular cake stand and a regular icing spatula, but getting perfectly straight edges might be difficult.
To create a neon rainbow effect, first apply a base layer to your cake of regular vanilla butter-cream icing. Once the cake it well-iced and smooth all around, place the cake into the fridge or Freezer for a few minutes so that the icing firms up again. This will make it easier to apply a second coat without smearing the first layer. Note, that you may need to double or triple the amount of icing noted in my recipe depending upon the side of your cake. 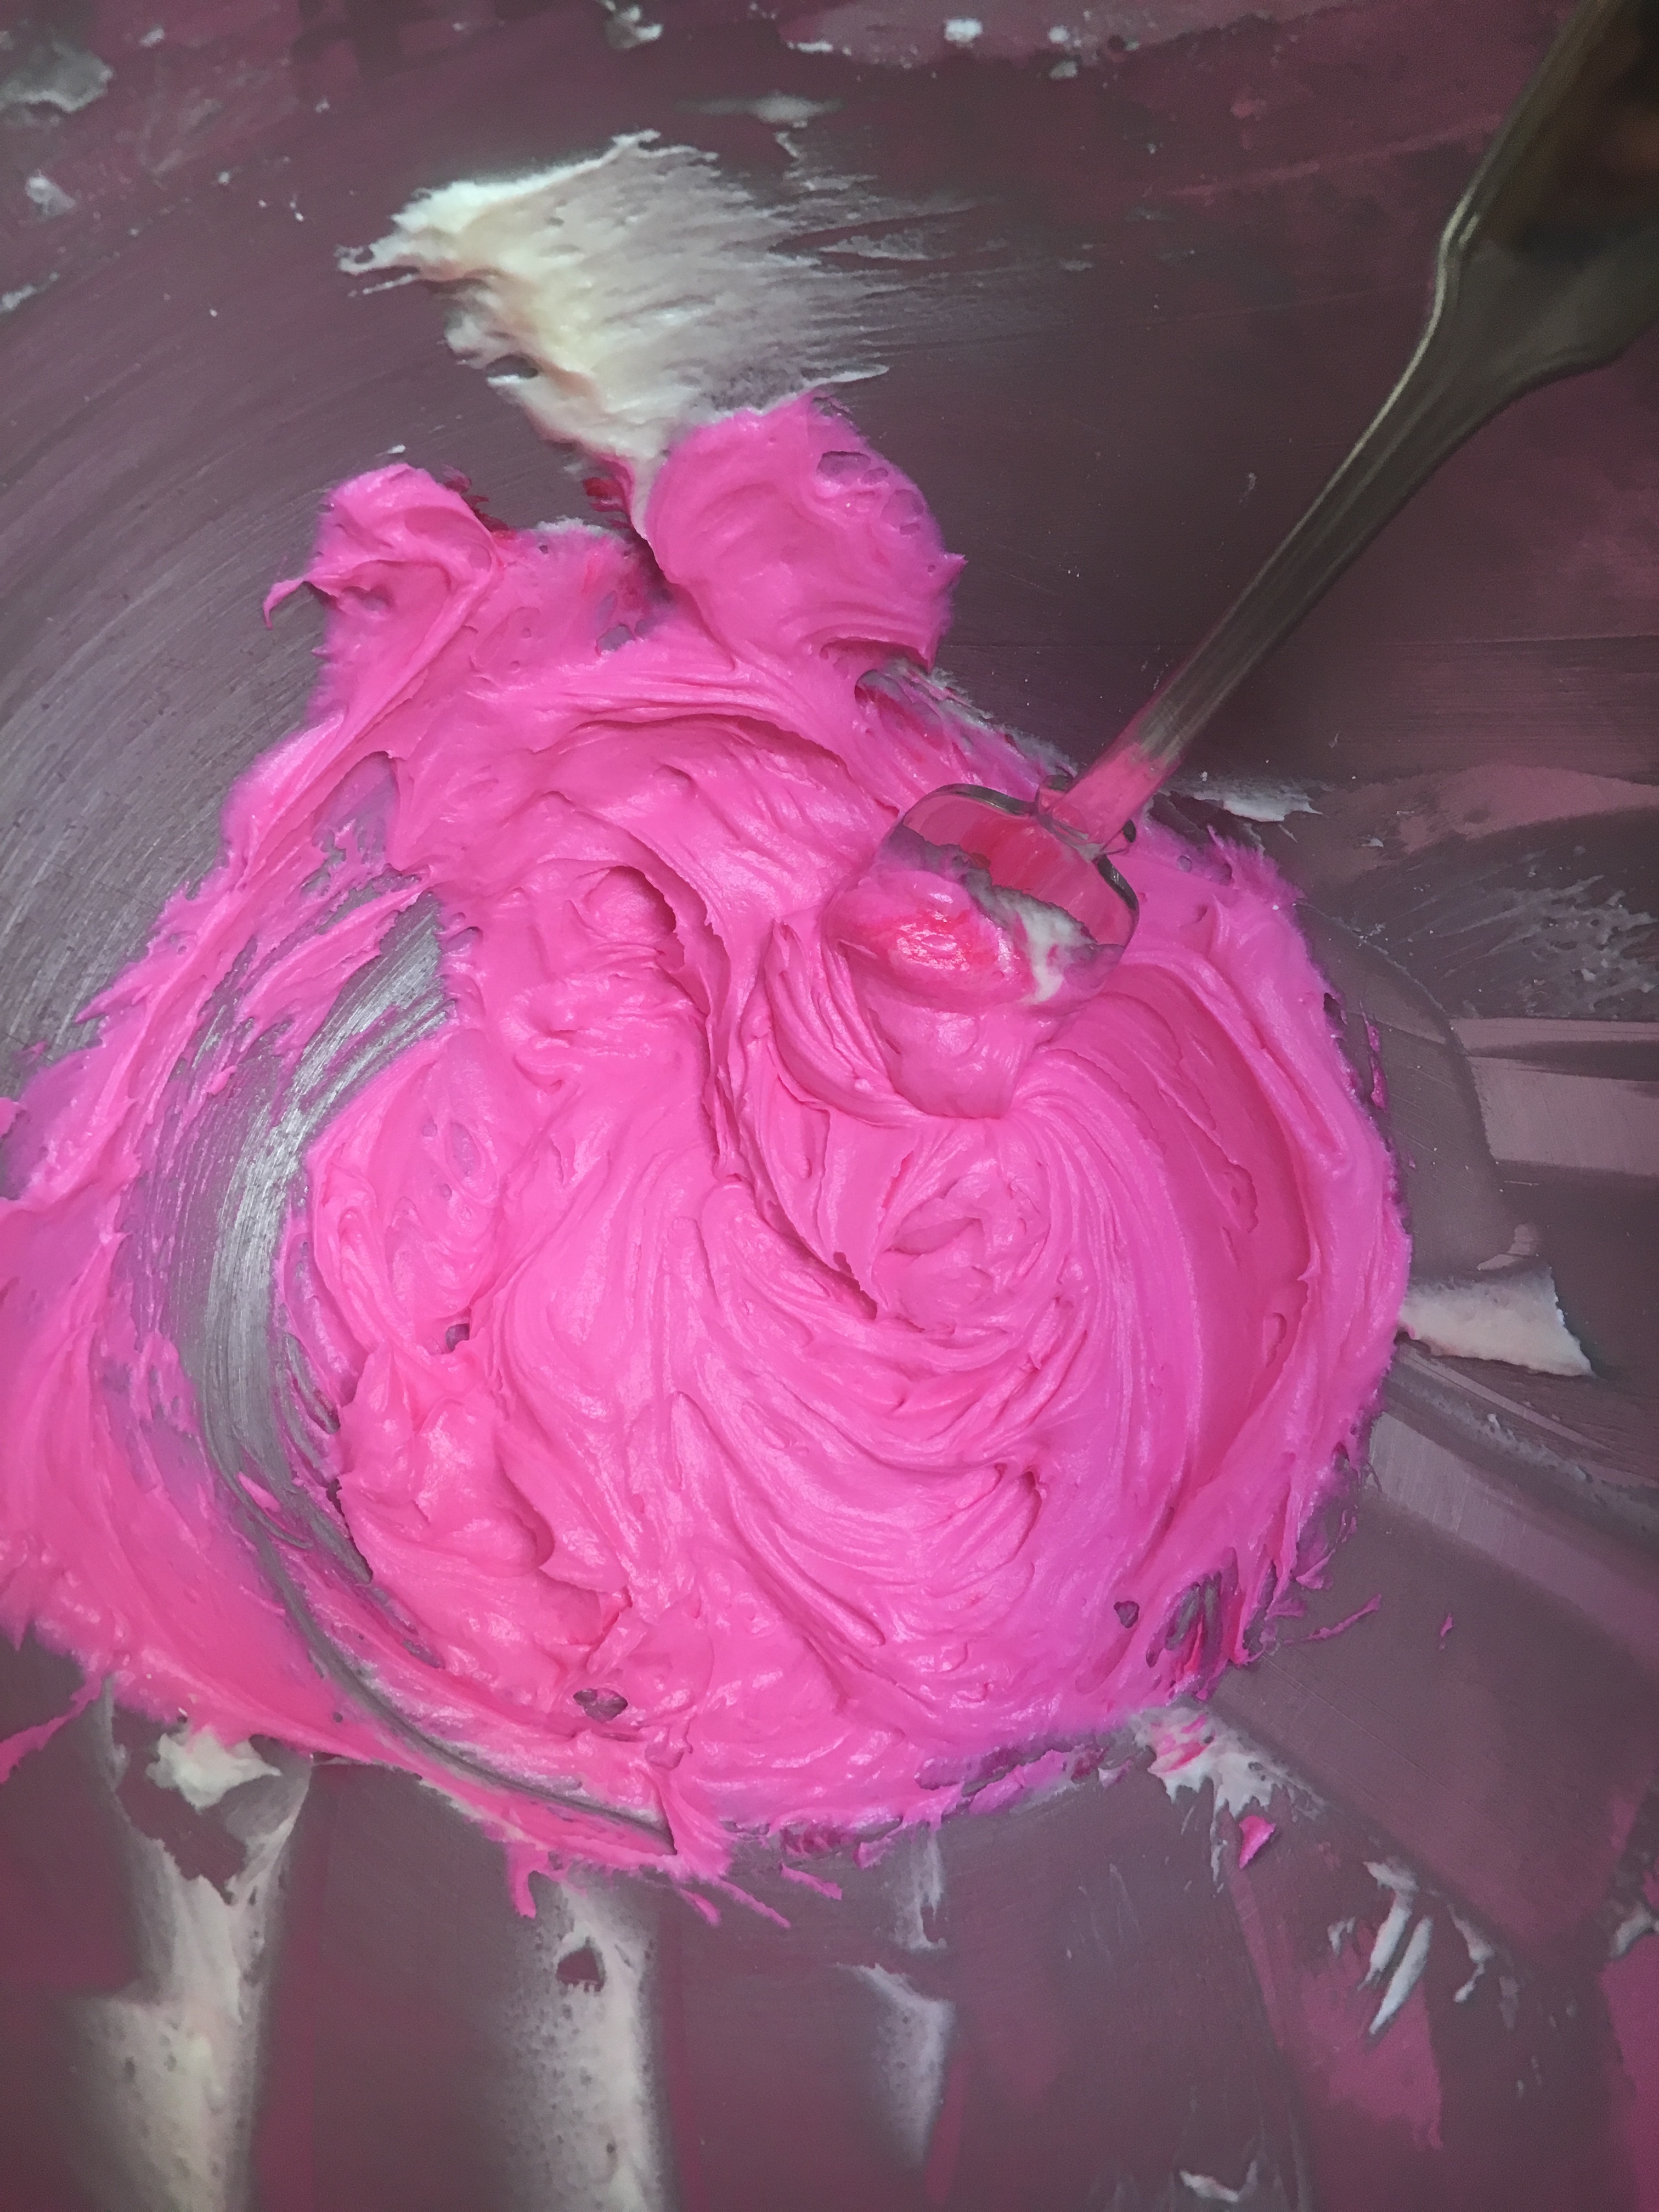
Make your neon icing with combinations of food dye. I highly recommend The Wilton Color Right Performance Color System, which comes with instructions on how to combine your dyes so you create the right color. I created 5 different colors (Hot Pink/Neon Orange/Yellow/Light Green/Neon Blue). To do this, I separated out my icing into 5 batches and combine the dye with the icing in individual batches. 
Looks like sunshine and happiness!
To ice the cake, I started from the bottom and applied a base of pink from the bottom up about 1-2 inches. Then I applied orange just above the pink, yellow and so on, each time making sure to smooth out the icing with a spackling knife. 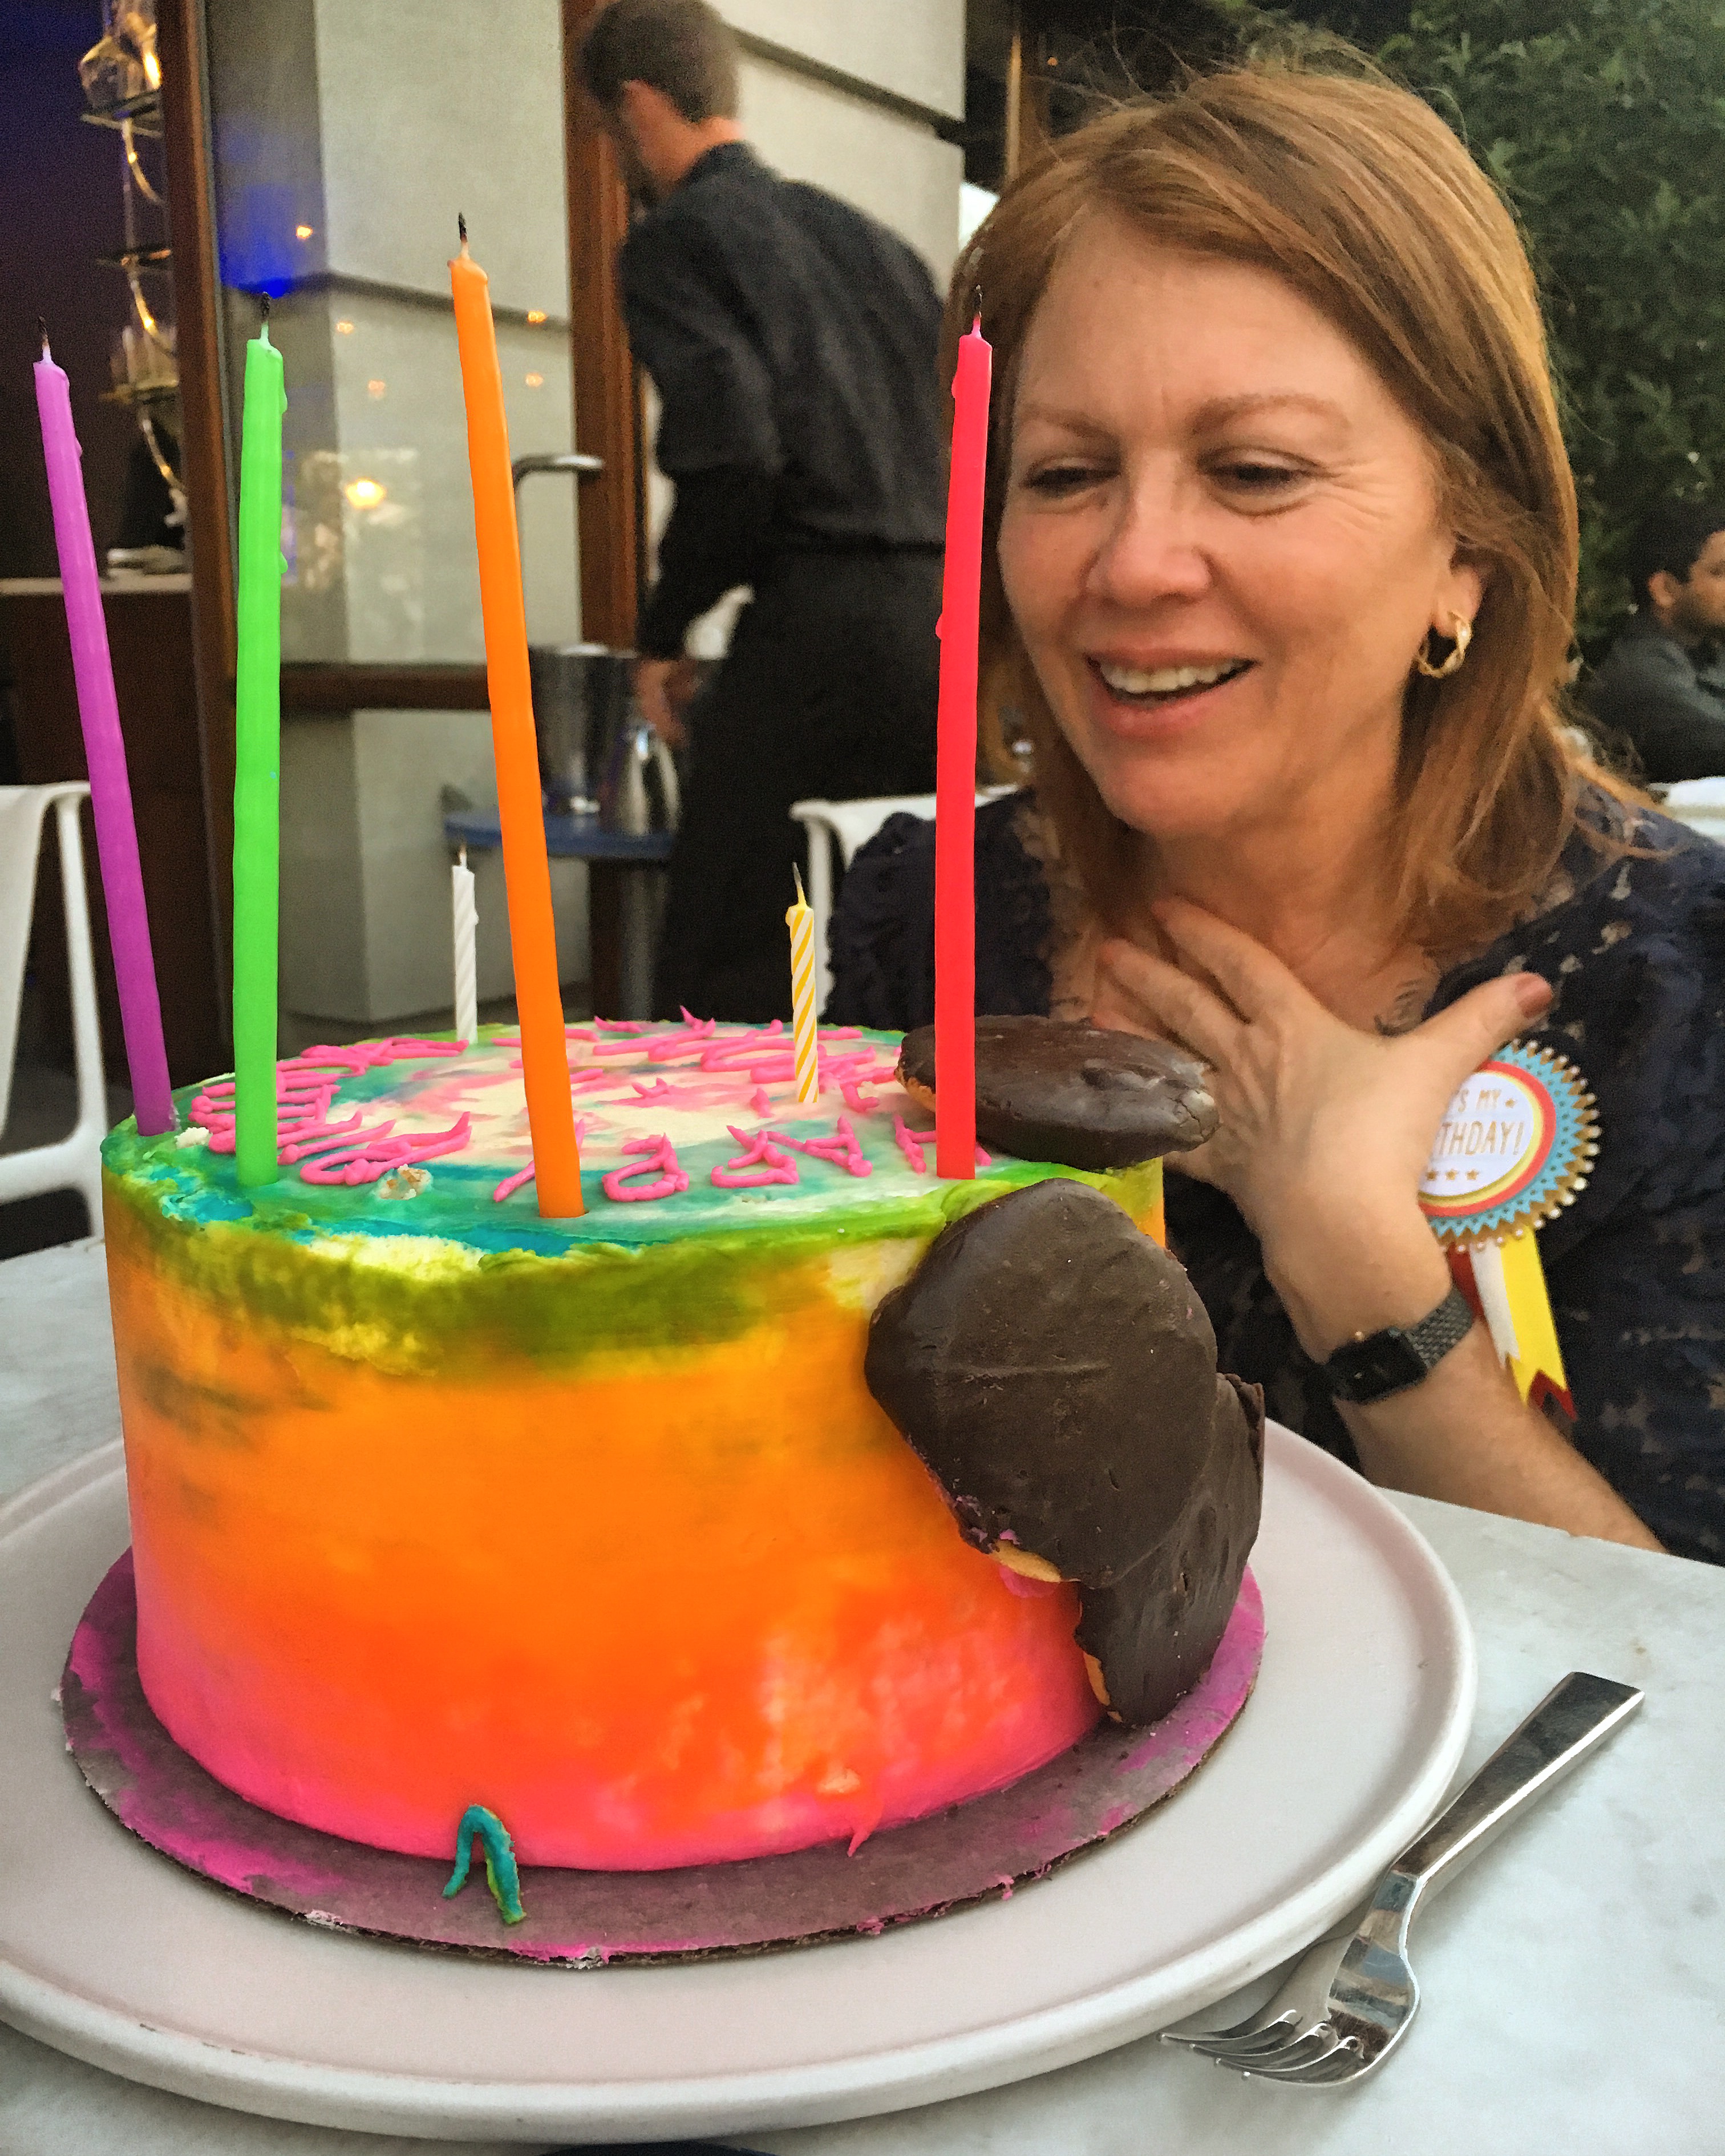
I know, I know…you’re impressed. Happy Birthday Mom! Love you.
If you have trouble with this cake, send me an email. I’m no barefoot Contessa. It’s early days… I have time. 😉
-GG
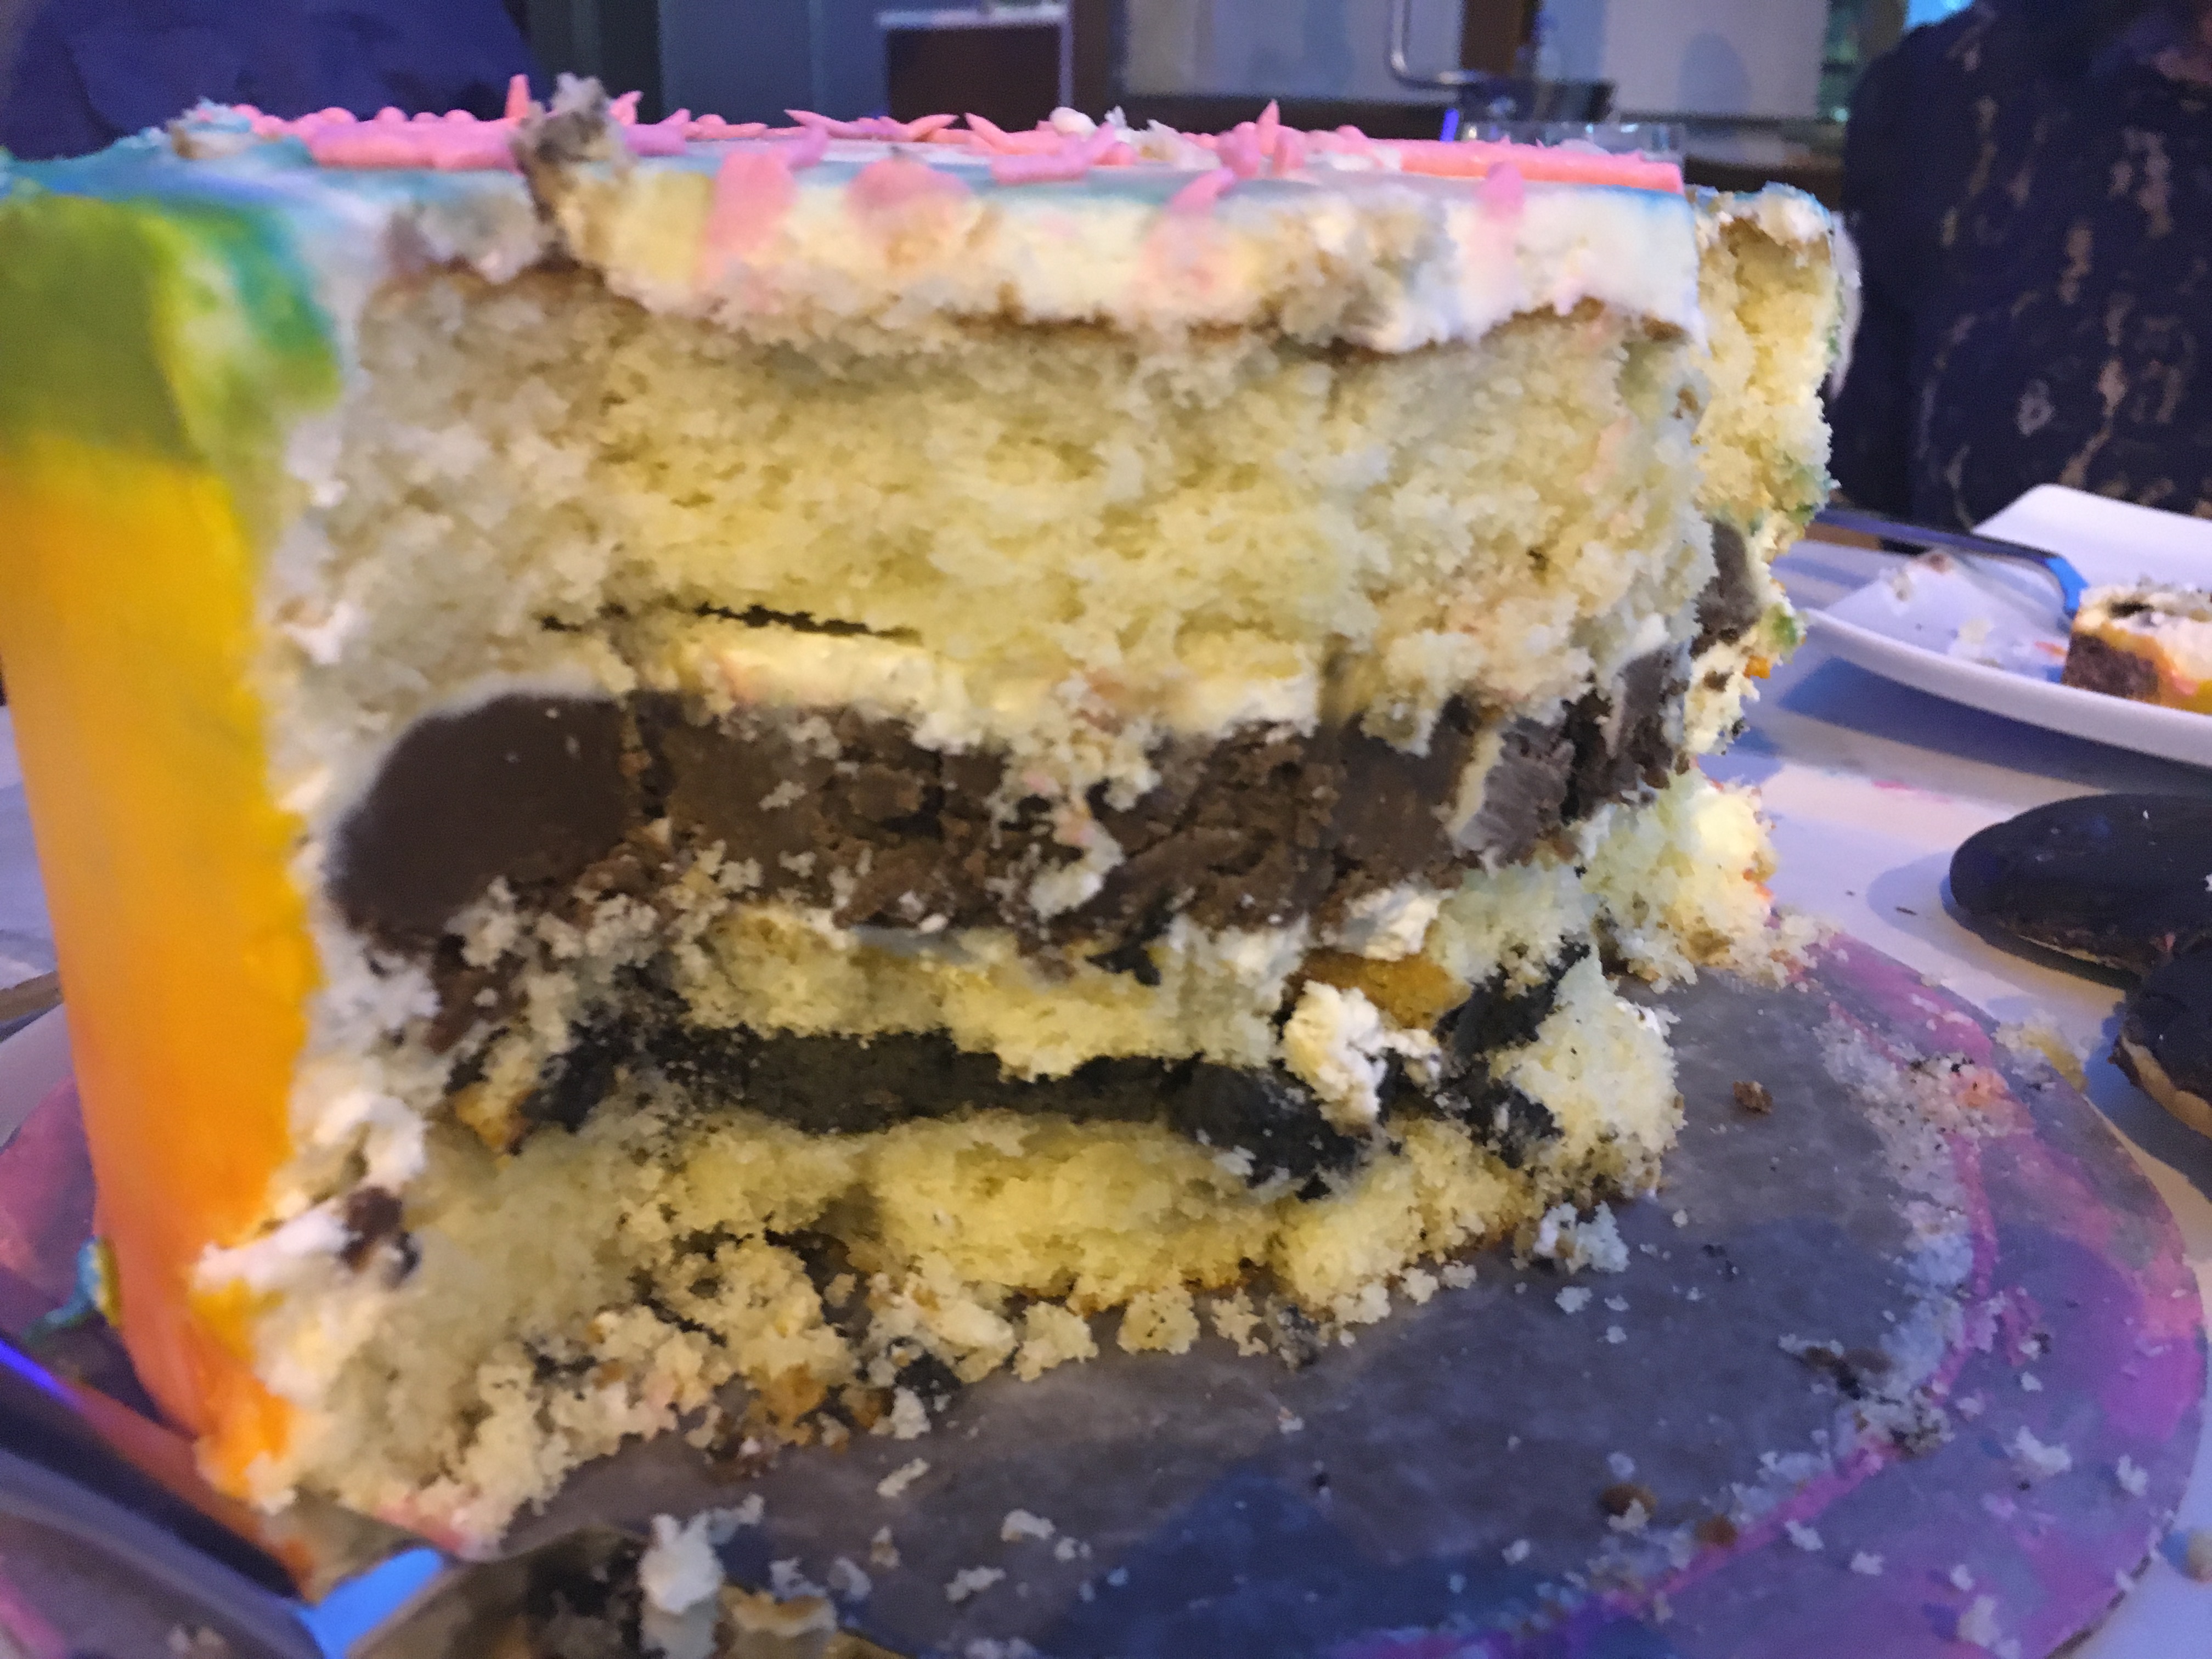 I dare you to try and have a normal sized slice of this cake


Lovely. Send me some!